

Have you ever heard of hair wrapping? If you have a curly hairstyle, this may be old news to you by now. The truth is, hair wrapping is an excellent method for preserving the actual shape of your hair, especially if it’s wavy or curly. We can’t blame you if you already knew, since this technique has been surging in popularity in recent years.
Either way, if you haven’t heard of it — but you are still interested in learning more about this technique– don’t worry. We’ve got you covered, and you can follow along with the steps in this article to master the art of hair wrapping. But first, let’s go ahead get you started by knowing what exactly is hair wrapping.
What Is Hair Wrapping?
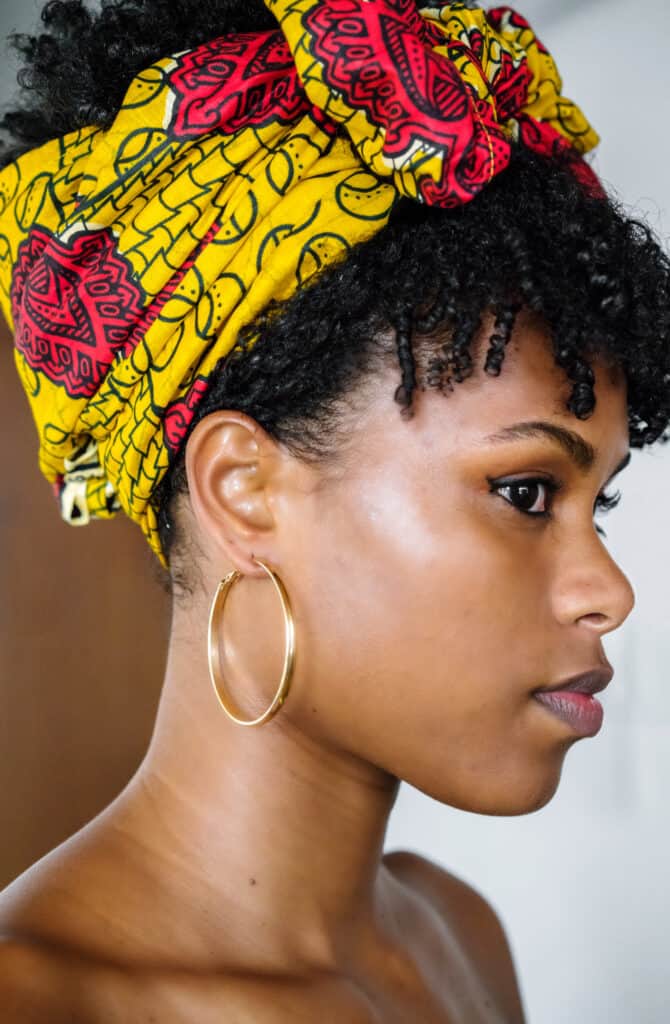
Hair wrapping is a method consisting of, as the name by itself hints, parting your hair in different sections to wrap them around your head. This way, your hair will lay in separate parts that will be secured by a scarf or even a t-shirt.
Pretty simple, right? It doesn’t sound that complicated or fancy, and it’s actually easy to do it once you’ve learned how to do it correctly.
Why Should You Wrap Your Hair?
There are so many incredible benefits of wrapping your hair. From encouraging growth to helping you maintain your ‘do, hair wrapping is one of the best things you can do for your hair. All hair types can benefit from wrapping, too. Even better, it’s incredibly affordable, meaning that there really are no downsides to mastering this technique!
- Your hair will grow faster
- You can avoid tangles and snarls
- You won’t have to wash it as often
- You can enjoy more mileage out of your hairstyles
- Your curls will last longer
By wrapping your hair, you can help keep it soft and healthy. Unwrapped hair is more likely to twist and tangle, leading to breakage and frizz. However, using a wrap can prevent this from happening, allowing you to finally get the long locks you’ve always wanted.
If your hair is prone to getting oily super fast, then you definitely want to take a closer look at wrapping. The wrap coaxes your natural hair oils to disperse through your hair, moving the oil away from your scalp to moisturize your ends. As an added bonus, keeping it off your pillow can help ward off breakouts. It’s a win-win!
As anyone knows, our hair is an investment in ourselves, and we spend a lot of time and money in maintaining it. Nobody wants to wake up with a poufy bedhead and a ruined hairdo. Instead, wrapping your hair keeps your locks locked down, preventing you from tossing and turning it into a huge mess. And if you’ve spent a long time getting your curls under control, then a wrap can help make sure that you wake up with springy, stunning hair.
How to Wrap Your Hair Before Going to Sleep
Now that you know about this brilliant technique, let’s show you how to properly wrap your hair.
Step 1: Wash Your Hair
The best approach to start any hairstyle is to wash your hair first. This makes your hair easier to manage, and if it’s the kind of hair that gets tangled all the time, you can take advantage of this wash and brush your hair.
Even if it’s the first step, this one is actually optional. If you’re used to washing your hair every day, this will be easy. However, if you have wavy or curly hair, you want to learn how to wrap your hair and today’s not the day for you to wash it, that’s also okay! You can then move to the next step

Step 2: Apply Your Hair Product of Choice
We’re going to leave this step ambiguous on purpose since we know that the serums and products you use can vary greatly. It really just depends on your hair type, and you can choose to apply a hair serum, styling cream, or a leave-in conditioner.
Everything is up to you and the way you like to treat your hair. Like a heavy leave-in? A-okay. Prefer a lighter moisturizing serum? Also fine. Either way, if you’re going to wrap your hair for the night, this step is essential because the product will have all night to act on your hair and leave it silky and soft.
Pro Tip: Remember to mostly apply your product in the middle and on the ends of your hair. If you use too much on the roots, you will end up with oily and greasy-looking hair. It is better not to overuse and to use the product like you usually would!
Step 3: Comb Your Hair
If you haven’t already, go ahead and run a comb through your hair. If you have curly hair, it’s best to avoid using a brush, though, since that can mess with your curl pattern. Oftentimes, women with curly hair prefer to comb it in the shower, since doing so while it’s dry leaves the hair all frizzy.
On the other hand, it’s recommended that women with straight and wavy hair comb it when completely dry to avoid breakage. Other tips that may help:
- Comb your hair with your fingers first before using the hairbrush.
- You can use a regular hairbrush if you have straight or wavy hair, but if you still find knots on your hair, you can use a wide-toothed comb.
- If your hair is too tangly, try to brush it from the ends to the root.
- When used, brushes and combs accumulate product, oil, and dirt. Don’t forget to clean your hairbrush when you have finished.
Step 4: Part Your Hair
Once correctly brushed, you’re going to part your hair in two different sections. If your hair is really thick, it can be four sections as well. These are the parts you’re going to wrap around your head, so they don’t have to be that perfect.
At the end of this step, you can make sure your hair is perfectly detangled. Again, I know, but it is better to be sure. Your hair will be grateful for it!
Step 5: Wrap Your Hair!
You will start by grabbing one of the back sections of your hair. Then, you will put this section up and behind your ear and to the top of your head. You can help yourself by brushing it while following the shape you just made. If you see that your hair weakens its spiral form, you can also use bobby pins to secure it.
Step 6: Repeat Until You Wrap All of Your Hair
You will do the same you did in the last step but from the other side. Remember, don’t be afraid of using bobby pins; we want your hair to be all in place. Some useful tips:
- You have to constantly comb your hair while you wrap it. That way, you can make sure your hair is detangled and soft. You can do it when wrapping a particular section or at the end of the wrapping. It depends on your preferences.
- Section your hair to make it easier. If you started to wrap your hair with four sections, here’s what you’re going to do: for the front hair, wrap it above the sections you’ve already done or under them.
- Don’t overthink it. The trick is to put your hair all around the other parts and not above them.
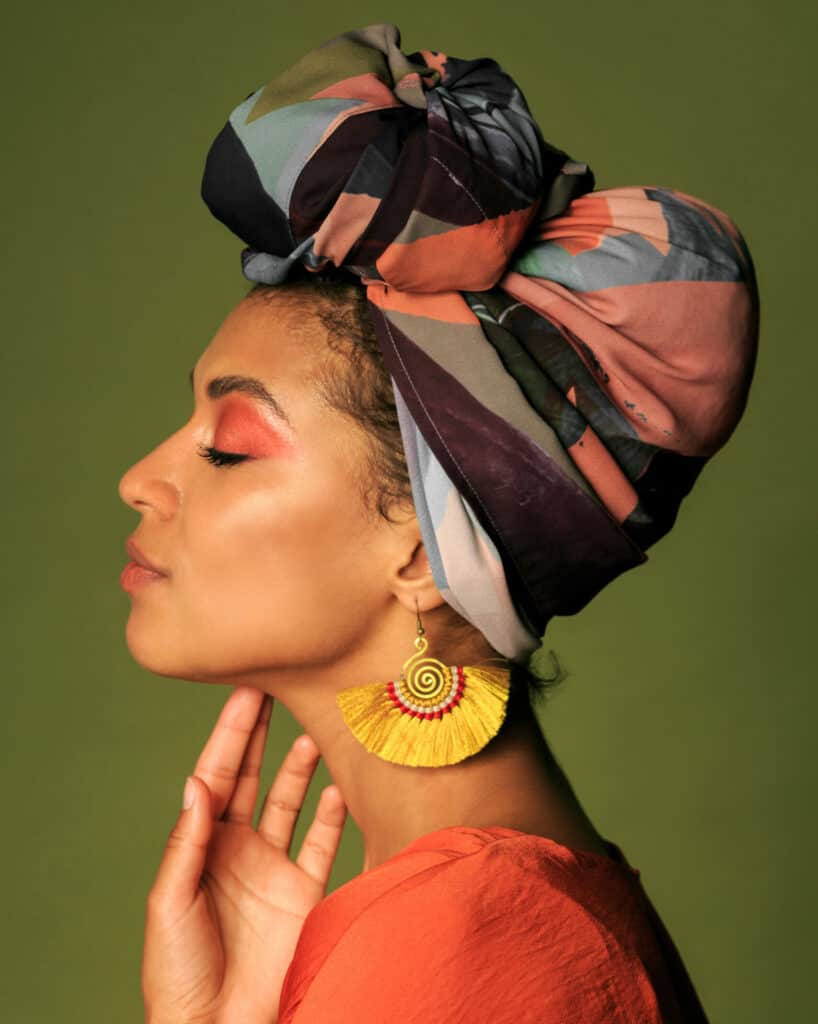
Step 7: Use a Silk or Satin Scarf
To make sure the elaborate wrap you just made doesn’t fall out, you’ve got to protect your hair with a scarf. Most of the time, salon professionals recommend the use of a silk or satin scarf. Why’s that?
Well, unlike cotton or linen, satin does not cause friction against your hair while you sleep, so it is ideal for curly and frizzy hair since the fabric fiber is gentler. Furthermore, cotton fibers tend to absorb natural oils and products that you put on your skin and hair. The satin or silk fiber helps you retain oils and products for longer, so you will see better results in the morning.
It doesn’t necessarily have to be a scarf, either. Usually, a square of fabric (remember, preferably satin or silk) works. You just have to place the fabric on top of your head and tie the four corners to keep everything together. And if you’re the type that moves a lot while sleeping, you can consider using a pantyhose to keep it tight.

Step 8: Take Off the Wrap
After a night without worrying about your hair, it’s time to take it off and see the results.
Pro Tip: If you’re going to shower as soon as you wake up, try to wear a shower cap before taking off the scarf of your hair. Besides not getting your hair wet, the humidity won’t make your hair all frizzy.
When taking off the scarf of your hair, gently remove the pantyhose and the scarf. Take the bobby pins carefully and shake your hair to make it fall without tugging at the strands.
The Benefits of Wrapping Your Hair at Night
Did we convince you to try it yet? Let’s take a look at some of the pros of wrapping your hair.

It Minimizes Hair Loss (And Helps with Hair Growth!)
We don’t know exactly how this works, but hair professionals all around the world recommend hair wrapping as a way to protect your hair, especially when you sleep. At night, your hair makes friction against the pillow, and there’s the possibility of breaking the fragile fibers of your hair. You can’t stop sleeping, but you can make sure your hair receives as little damage as possible while you do it.
It Reduces Frizzy Hair
Frizz on your hair is probably one of your worst nightmares if you have curly hair. It doesn’t matter what you do; frizz always appears as a surprise, whether it’s because of the weather or dehydration, everything seems to give you frizzy hair these days.
However, hair wrapping is one way to prevent it. If you keep all your hair wrapped, this leaves your hair with minimal movements to do that can cause friction against the pillow, and if you add the satin fabric to that, you will enhance the effect. Goodbye frizzy hair!
Avoids Tangly Hair
If you move too much while you sleep, there’s no way your hair will stay straight and silky. When you get up, you will probably have to comb it all over again, taking valuable minutes of your precious time. Not to mention if you’re already late.
Hair wrapping avoids this by maintaining all your hairs in the same place, preventing unwanted tangles from forming. By following that principle, hair wrapping prevents friction and hence avoids knots.
Allows You To Apply Any Night Treatment
Have you ever applied some fancy product on your hair at night, just to find out it got all smeared out to your pillow in the morning?
Hair wrapping prevents this by holding all your hair into place. Also, the scarf protects your pillow from any product that could spill on it. Double win!
Frequently Asked Questions About How to Wrap Your Hair
Answer: There are lots of methods to wrap your hair. It depends on your hair type, your hair length, and of course, the way you want it to look. Some of the steps in this article can be helpful, even if you haven’t done it before!
If you’re not sure, you can always pop on over to social media and watch some video tutorials. It’s okay to not do it perfectly on your first try, too. With practice, you’ll be able to wrap your hair like a pro in no time!
Answer: Yes! You can wrap your hair for a good number of reasons. For example, our hair is constantly exposed to gases found in the environment, and it can be helpful to use a wrap for your hair to protect it.
Also, girls with sensitive hair types have their hair more vulnerable to changes in the weather. Some other women use it to avoid hair loss and promote hair growth. Plus, wrapping your hair doesn’t have to be stressful, and it can look stylish while doing it.
Answer: You have probably heard this tip from somebody else before, and for a good reason: they’re right. Salon professionals recommend wrapping your hair because it makes detangling easier. It also helps to maintain your hair on point when you wake up in the morning.
Years ago, this technique was usually used by girls with curly hair, but every day more and more women with straight and wavy hair practice this. It also looks super cute, too, and can help keep your hair off your neck and cool you down when you sleep.
Answer: Absolutely! While we don’t exactly know the science behind this, there’s a lot of evidence that suggests that wrapping your hair at night is one of the best ways to keep your hair healthy and allow it to grow faster.
Apparently, the accumulation of heat in your hair caused by the wrap at night will increase the sebum’s production and, at the same time, will stimulate hair growth. It can also help prevent fraying your hair if you toss and turn in your sleep, which can lead to breakage and cause your hair to snap off. Makes sense if you think about it, and it doesn’t hurt to try!
Answer: It is habitually suggested to sleep with your hair up. Experts have found that when your hair rubs against your pillow, it leads to mechanical damage to it. In other words, it can cause your hair to fray and start to break. Over time, your hair will start to become weaker and weaker.
This issue is compounded if you’ve used chemical treatments on it (like bleaching it or coloring it), if you heat style often, or if you have hair that’s naturally more fragile (like curly hair). If this sounds like you, then it’s best to sleep with your hair up to help avoid this damage. To double down on the benefits of wrapping your hair, it’s maybe a smart idea to buy yourself a silk or satin pillowcase.
Final Thoughts
From keeping your hair from breaking to allowing you to maintain your curls and you’re ‘do, hair wrapping is arguably one of the best things you can do for your hair. While hair wrapping started out as a trick for all of the curly-haired gals out there, it’s grown more popular over the years, and more and more people are turning to it. If you’ve been thinking about hair wrapping, why not go ahead and give it a try? Your hair will thank you for it!
Looking for more interesting readings? Check out:
- Flat Twist Hairstyle Guide
- Dutch Braid Vs French Braid: Which Gives Better Waves?
- Early 2000s Hairstyles Inspiration: Styles That Are Back And Some That Should Stay In The Past
- Dr Squatch Shampoo Review: Is It The Best Shampoo For Men? - April 21, 2022
- 8 Best Aloe Vera Shampoo Products: A Complete Guide - April 19, 2022
- 9 Best Non Binary Haircut Ideas: Which Hairstyle Is Perfect For You? - April 18, 2022