
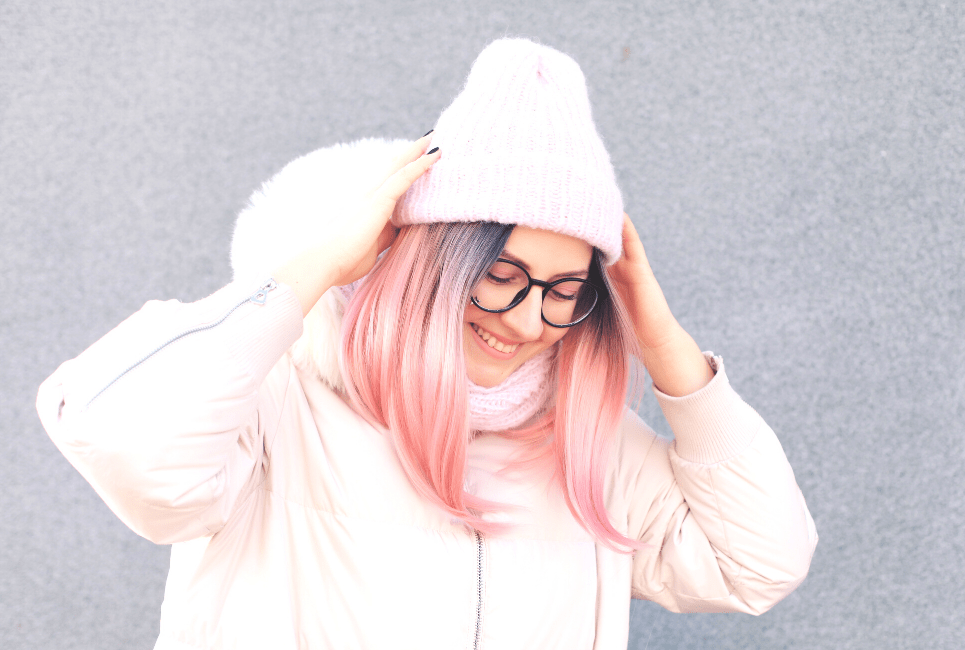
What’s better than dying your hair for a makeover that’ll leave the world stunned? Your hair color can define your personality at times, hence why many people tend to switch up their natural shades — they just don’t feel right on them. Other times, maybe you’d want to try a different hairstyle, but all it’s missing is some color to get you looking like a Covergirl.
Let’s face it: dying your hair is amazing, and opens up so many styling options that you could never even bat an eye on with your natural hair color. Not undermining the power of the shades we’re gifted with, but simply changing your hair color can more or less change your life (just look at Gwen Stefani or Emma Stone). Your hair’s color can make you go from plain ol’ Jane to a literal pop idol, and you just wouldn’t want to miss out on this bottle of magic when life’s so short.
Therefore, if you’ve been itching to hop into the trend and see where a new hair color takes you, you’ve stumbled across the right corner of the internet! In today’s post, we’re covering everything you need to know about hair coloring.
From the different types of hair colors you could choose from to the materials you’ll be needing, and a step-by-step guide for a foolproof dye job, we’ve got it all covered today. Hop on in and get comfortable!
Color your hair can be a frighteningly exciting ordeal, especially if you’re doing it all on your own. Your hair begins feeling like the sky atop Atlas’ shoulders, and you’d probably think about turning away at least a million times. A nervous mind and a jittery hand can very well lead to a bad dye job, but does coloring your hair at home really have to be such a trial?
What Are The Different Types Of Hair Dyes?
Hair dyes don’t just come in one kind. There are just so many that you could choose from. But to make things less complicated, you could say that the kind of hair dye you need depends more on whether you want your style to come off at all or not.
So here’s a list of hair dyes that you might want to look for:
Permanent Hair Dyes
Most dyes you find in the market are permanent hair dyes. These stick to your hair and can never be removed. But you do need to reapply them eventually because as your hair grows, the new areas tend to have your natural color in them. You can also recolor your hair with these if you don’t like the current dye color.
Temporary Hair Colors
Meanwhile, temporary hair colors can be removed from your hair after a few washes. They typically last for about 1 to 30 washes. This makes them the better choice if you are still looking for the right color to fit your style.
Spray-On Hair Colors
When it comes to choosing your style, spray-on hair colors are perfect. This is a kind of temporary hair color that could wash out in about 1-3 washes.
Semi-Permanent Hair Color
This kind of hair color is on the longer side of temporary hair colors. Semi-permanent hair colors last for about eight washes, giving you more time to get used to the way your hair looks.
Demi-Permanent Hair Color
What with being the longest-lasting of all temporary hair colors, demi-permanent hair colors can last for about 24 washes. This makes it appealing for folks who want to try something out before needing to go back to their normal colors after a while.
Bleach
Hair bleaching does the opposite thing to your hair: they take away the color. It dissolves melanin, which is a special protein molecule that gives your hair its brownish, reddish, and blackish color.
Natural Hair Dyes
The problem with most types of hair dyes is that they tend to ruin your hair’s quality. Natural hair dyes don’t. These are made so you’re sure that your locks will always feel smooth even with the wildest colors you can imagine.
Gradual Hair Dyes
When it comes to most hair dyes, they color your hair with just one shade: the color they came with. Gradual (or “progressive”) hair dyes can be adjusted so you could have a blue that’s as blue as the sky or as royal as any queen’s garment. You just have to apply them daily until you get to the right shade.
Gloss
Dull hair always looks bad — but not if you have it glossed! Hair gloss makes hair look shiny without having to add other dyes. It does fade away over time, however, so you might want to reapply as it washes out.
Different Dyeing Styles
When putting a new color on your hair, you don’t just put a huge slab of dye and hope for the best. Sure, sometimes it does work. Some styles need you to have all your hair colored. But there are also other styles that need just a small patch to get colored. These include:
- Full Head Dyeing
- Full Highlights
- Partial Highlights
- Root Dyeing
Full Head Dyeing
This is how hair dyeing typically works. In full head dyeing, every single strand of your hair is dyed. This means that you could have a full blonde or jet black with no patches of your natural hair showing.
Full Highlights
Highlights are bleached areas on the hair. Doing this highlights the face, making it look brighter and better-looking. When it comes to full highlights, the hairs that grow from the back of the head are bleached, in addition to that on the front.
Partial Highlights
On the other hand, partial highlights are only done on the hairs that grow from the front. This makes it a lot cheaper compared to full highlights.
Root Dyeing
So if you liked your color and made it into a permanent dye, that’s good. But permanent dyes only work on old hair cells. The new growth will have your natural hair color in it. Root dyeing, or “root touch-ups,” makes it so that you won’t have to dye all of your hair again when all you need is just to dye the new hair growth.
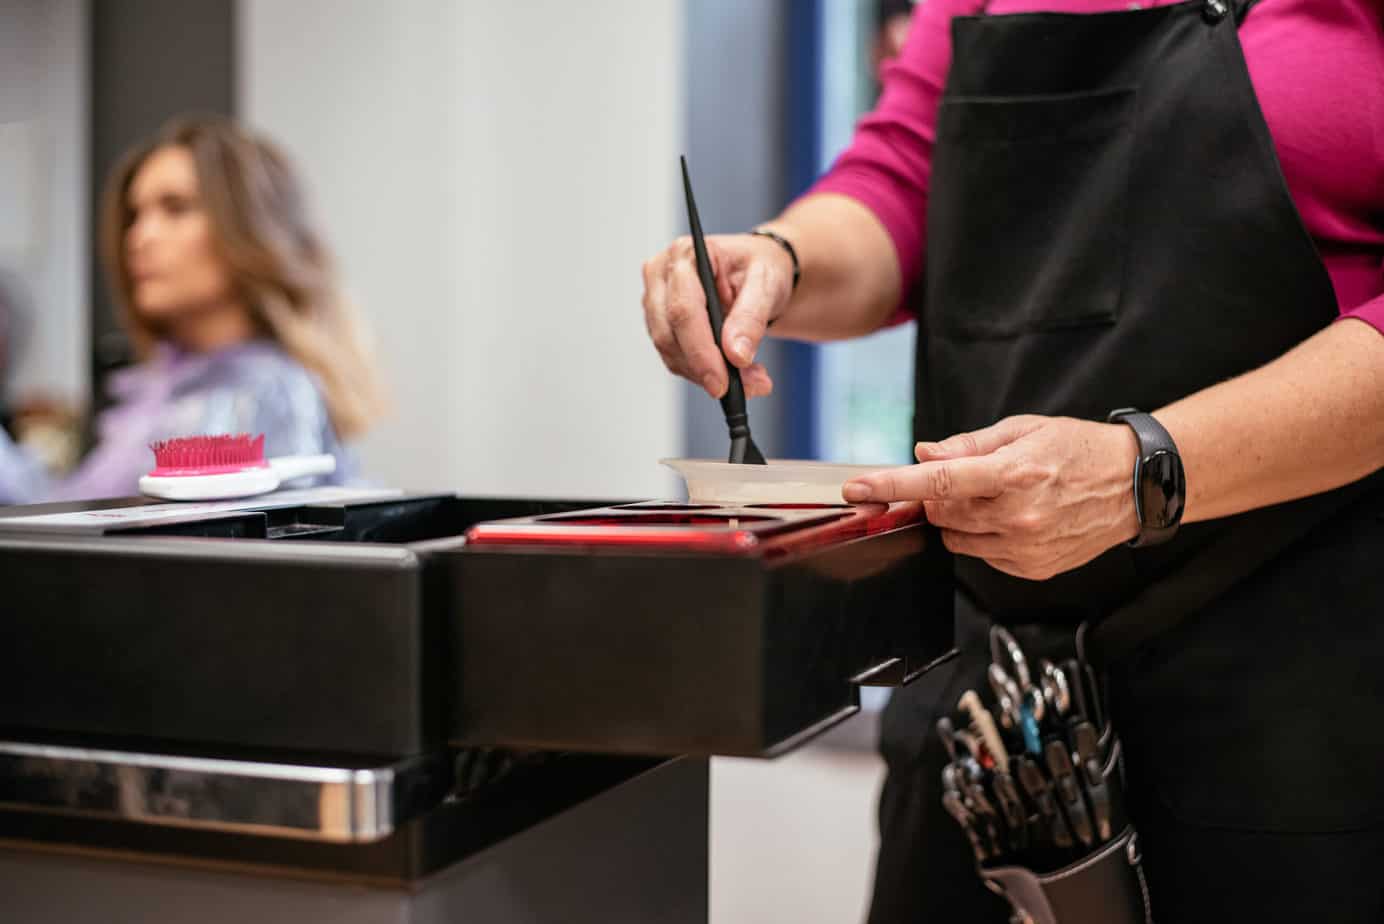
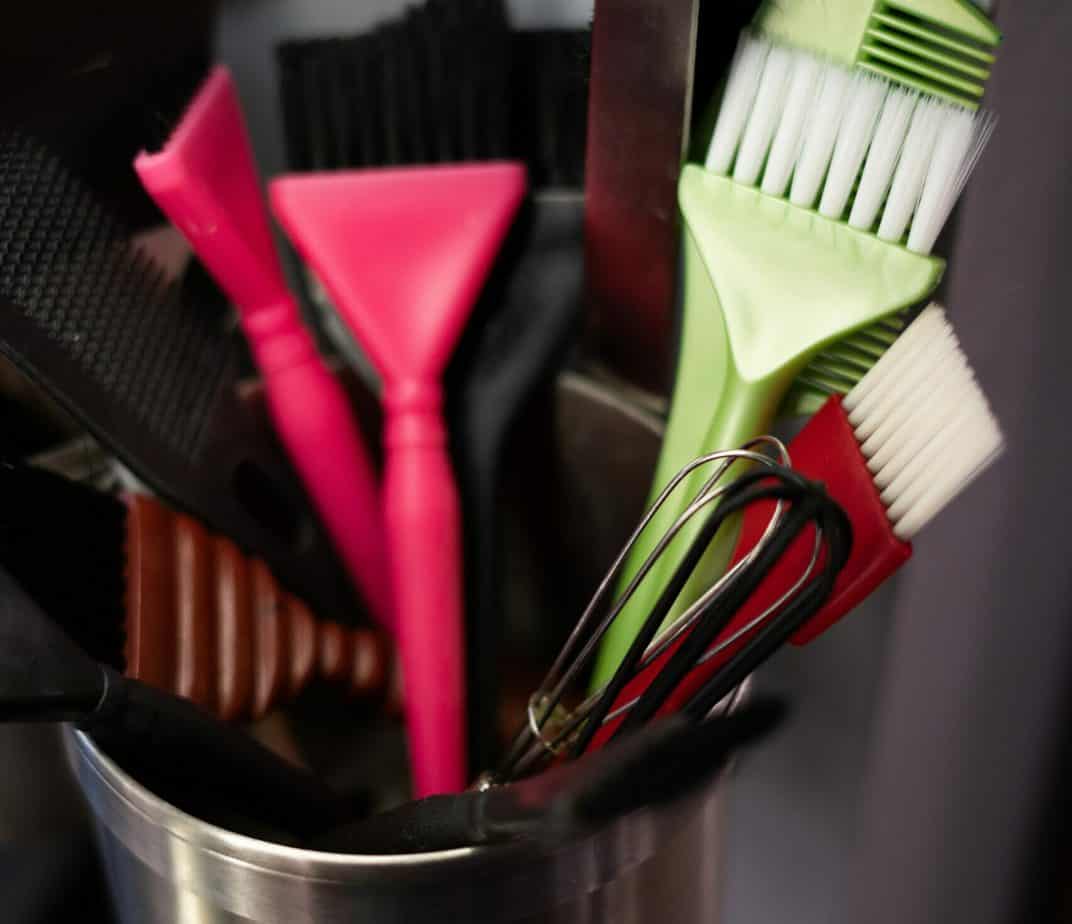
What Are The Necessary Tools For Hair Coloring?
There are a few tools you’ll want to have in your arsenal before you color your hair. While some are more expensive than others, it’s important to remember that if you frequently color your hair at home, you’ll get a lot of mileage out of these items.
They include:
- Mixing Bowls
- Combs
- Smock
- Hair Clips
- Gloves
- Towels
- Timer
- Extra Brushes
- Neck Strips
- Foil
- Mixing Whisk
- Wipes
- Shower Cap
- A Mirror
And now, here’s how you need to actually start coloring your hair!
The Steps To Dyeing Your Hair
Hair dyeing is simple. But if it’s your first time doing it, you might mess it up really badly. And by that, we mean everything that could go wrong. From taking it off too early to staining your clothes and furniture, you need to be more careful.
Good thing we’ve got this guide just for you, huh?
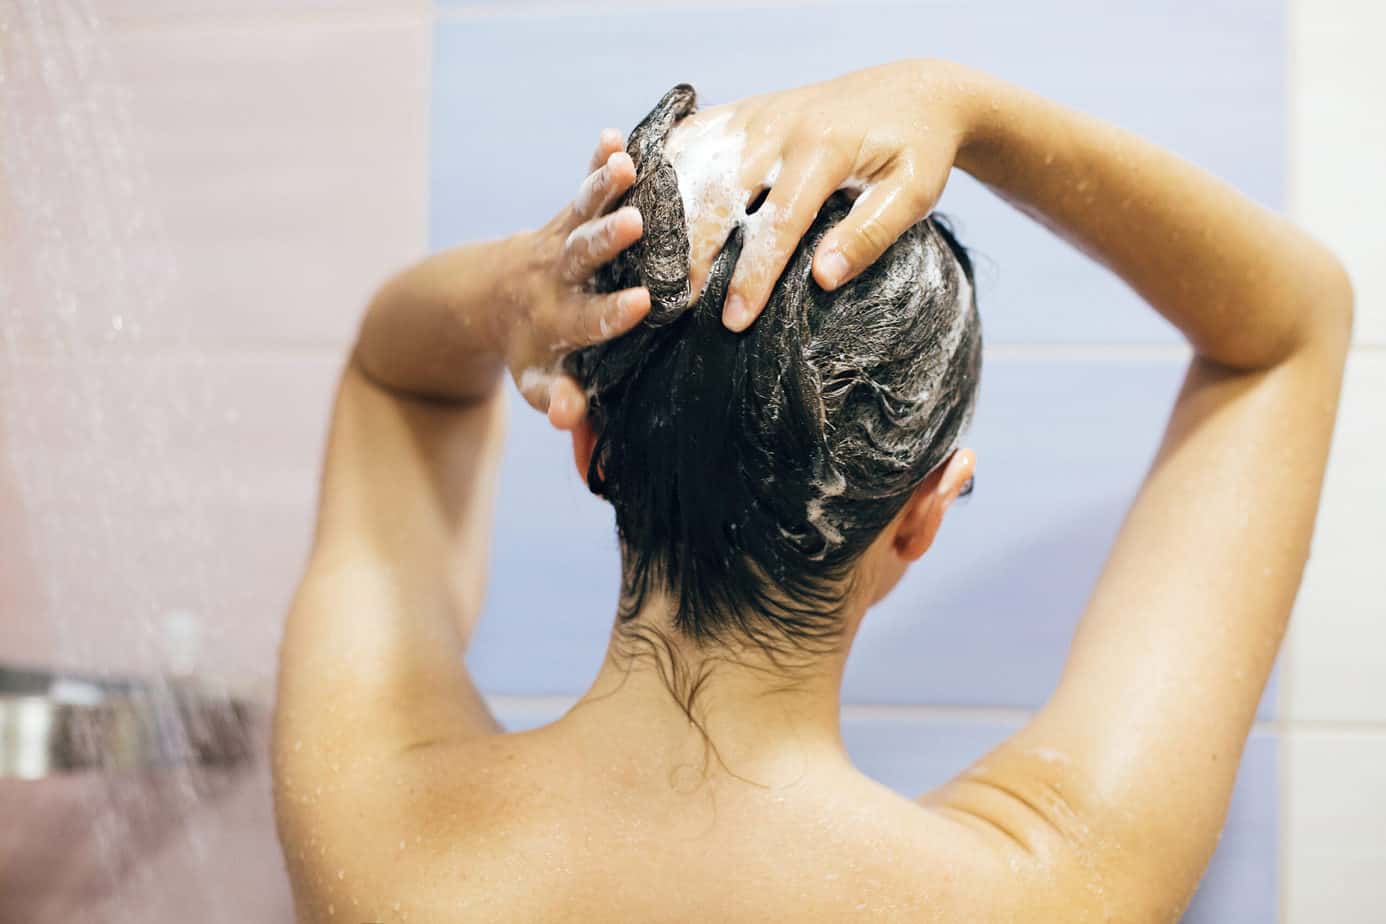
Pre-Dyeing
Before you do anything, your hair must be spic and span for the dye to stick on it. Dirt will only make uneven splotches that look nothing else but terrible. Do remember, though, that dyes need your hair’s natural oils to stick better. That’s why you should wash your hair the day before you put it on.
If your hair is dry, apply conditioner for about a week before you do the dyeing process. This smoothens the rough parts of your hair which could make it harder to apply the dye on. Do refrain from using it the day before you do the dyeing, though.
On the very day that you put on the dye, be sure to wear a towel over your clothes to keep them from getting stained. You can also coat your neck, ears, and hairline with something like lip balm, petroleum jelly, or conditioner. This makes it easier to remove the dye off your skin when you take a bath.
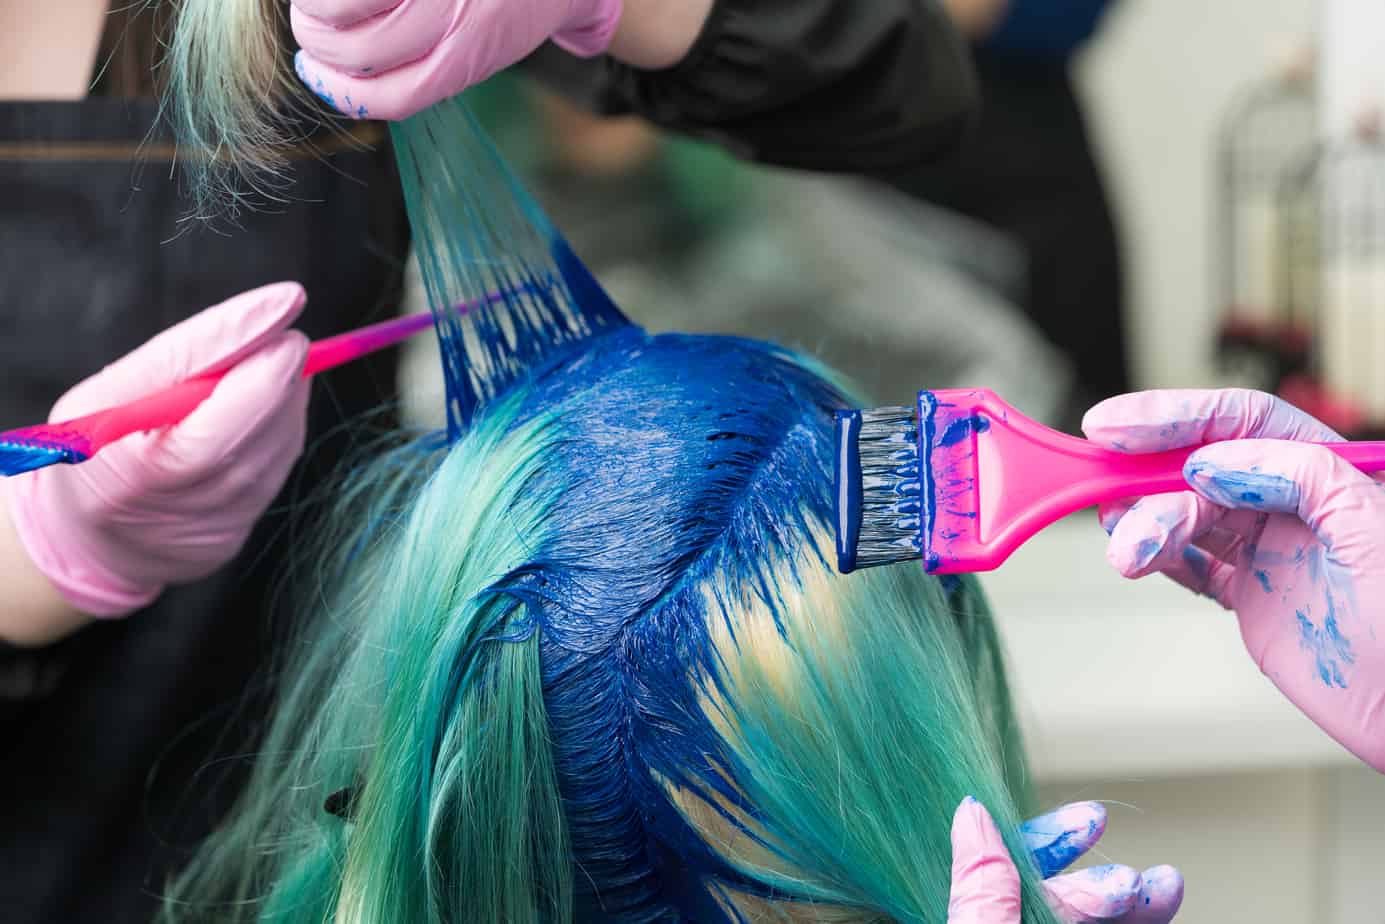
Dyeing
Now, the dyeing process tends to be quite simple. But you shouldn’t try to apply the dye like you would your shampoo. That just won’t work right.
Instead, you should separate your hair into small sections. With alligator pins, bunch them up into small, relatively flat, two-inch sections. Doing this lets you see whether you missed a spot or not.
Boxes of hair dye usually come with an applicator bottle or dyeing brush. Use these to apply them evenly. Then wait for them to settle. Every brand has its own settling time. Check the box to see how long you should wait.
And lastly, end this by wearing a showering cap so you don’t disturb the hair while it’s settling.
Post-Dyeing
Now that you’ve added color to your hair, it’s time to remove the excess dye. If you skip this step, your hair will just stain everything it comes in contact with. So please, don’t skip this one.
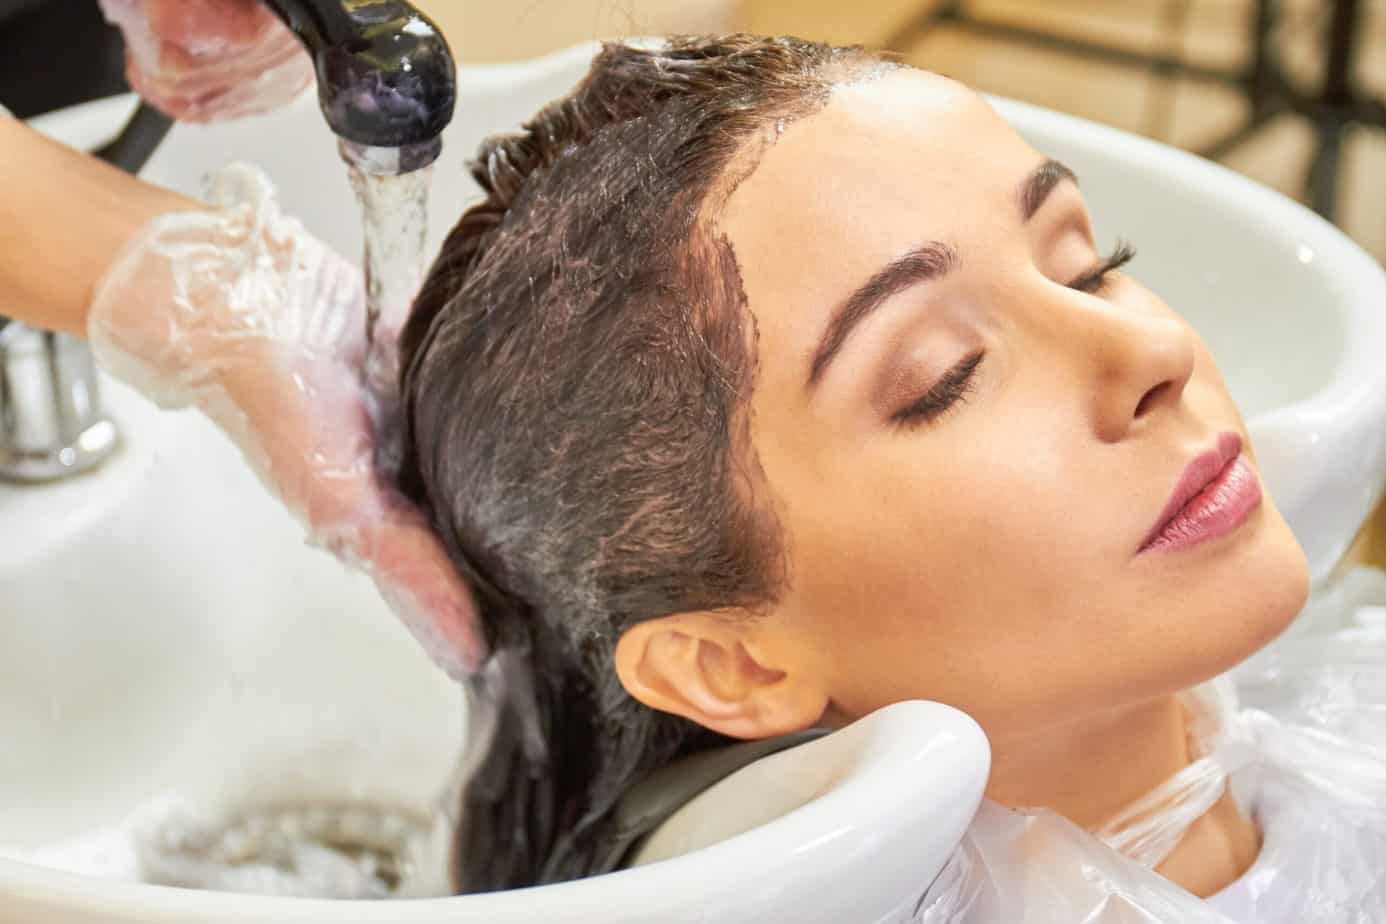
Removing the excess dye is as simple as washing your hair with shampoo. For temporary dyes, wash the hair until you don’t see any color flowing through the water. This could take a while, especially if you’ve added too much dye, so be patient.
On the other hand, temporary dyes will wash away until they’re gone. So just wash as much as you would normally wash your hair.
The Steps To Bleaching Your Hair
Hair bleaching works a little bit like hair dyeing, except that bleaching removes color while dyeing adds it. If you want your hair to turn blonde, then bleaching is definitely for you.
But do remember that bleaching takes a lot of preparation. You’ll need to start with healthy hair. Best if you could try with virgin hair, which is hair that hasn’t been chemically styled in any way.
Pre-Bleaching
Before doing anything, you should be warned. Bleaching products are strong stuff. The vapors could ruin your lungs and eyes. That’s why you should only do this in a well-ventilated room.
If it’s your first time doing this, only bleach hair that has not been dyed or styled. Bleach literally destroys layers of your hair strands. So doing this might just make your hair so brittle that it would fall off at the slightest touch.
In the few months before the bleaching, you should try to avoid shampoos with sulfates. Most natural shampoos don’t have sulfates. But garlic-based shampoos tend to have those, so avoid them. You should also avoid heat-treatments and hair sprays, among others.
Now as for the products, you are supposed to look for three things: bleaching powder, volume developer, and a permanent toner.
The strength of the bleaching powder depends on what kind of shade you are aiming for. Lighter shades need stronger powders. Likewise, darker shades need weaker powders.
Meanwhile, volume developers break the hair’s cuticles so the bleaching powder can do its job. The darker your hair is, the stronger you’ll need.
Lastly, toners give your hair its color. Bleached hair usually looks yellow or orange, so toners can help you get that silvery white look. There are also other toners that give other colors. Pick one that suits your taste.
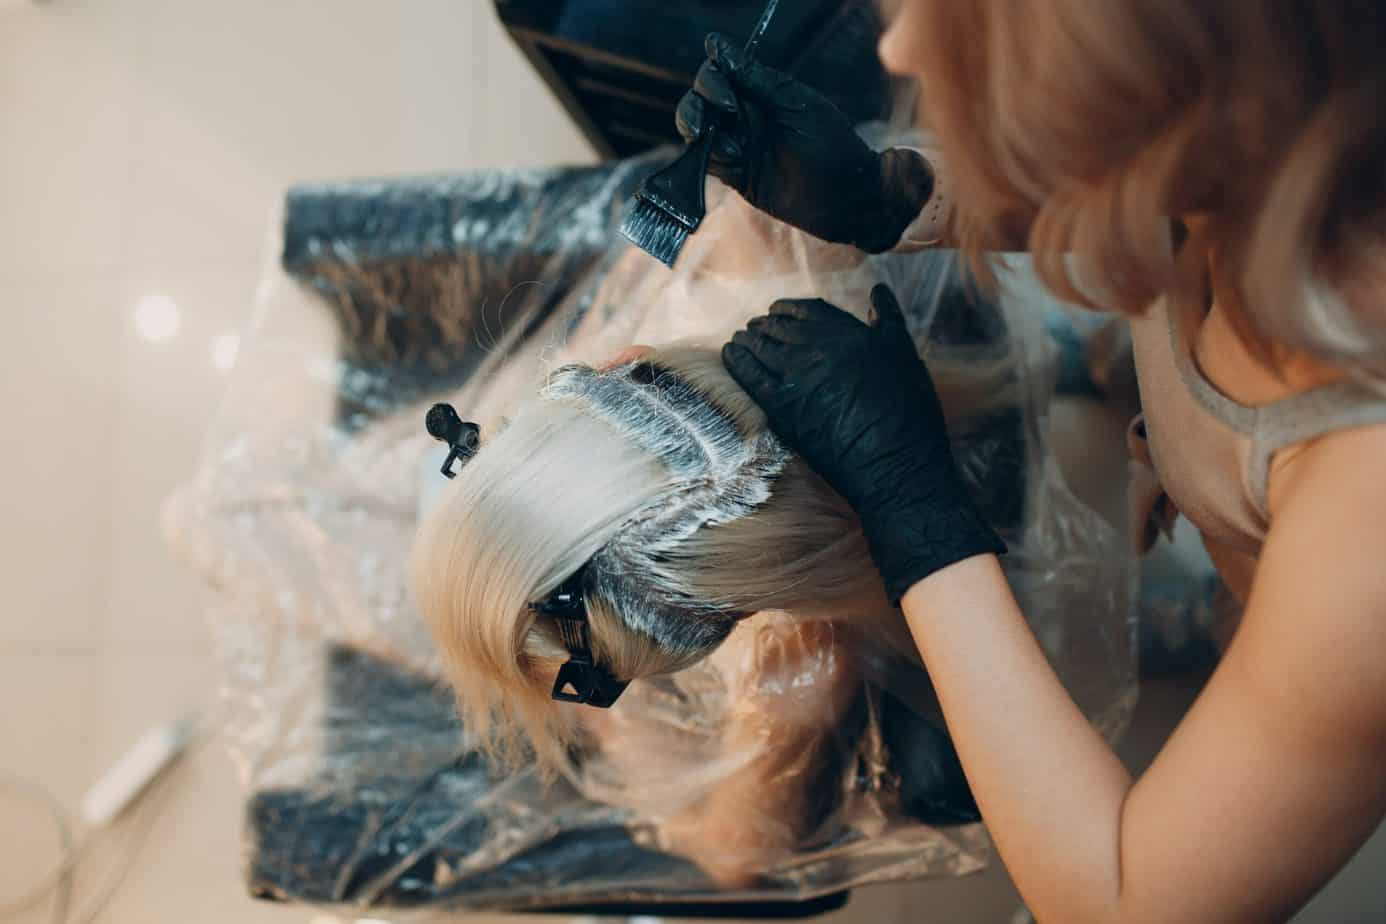
Bleaching
So now you’ve taken care of everything. You’ve kept yourself from using damaging styling chemicals. And you’ve also found good products, as well as a well-ventilated area. What’s next?
Bleaching can get a bit more complicated compared to dyeing. For one, you’ll have to mix the bleaching powder and volume developer based on the manufacturer’s instructions. Normally, it’s a 1:1 ratio. So if you’re just starting, then do try that first.
Then with alligator clips separate the hair into small subsections and use a tinting brush to apply the mixture. Start from the ends before applying near the roots. Avoid having the mixture touch your scalp. That could cause painful irritations for you in the long run.
Next up, cover the hair with plastic wrap for 15 minutes. The scalp might feel hot or slightly sting. That’s okay, it’s normal. But if it gets really painful, then wash it all off immediately. On the other hand, check it out every 10 minutes after that initial 15-minute window to see if the color is in the shade that you want.
Afterward, wash it up with cold water and air dry. Do not use shampoo. But do use a good conditioner to keep it from breaking.
Post-Bleaching
Last up is the toner. With a tinting brush, apply the toner as if you would with hair dye. Then wash it off with cold water before applying a conditioner.
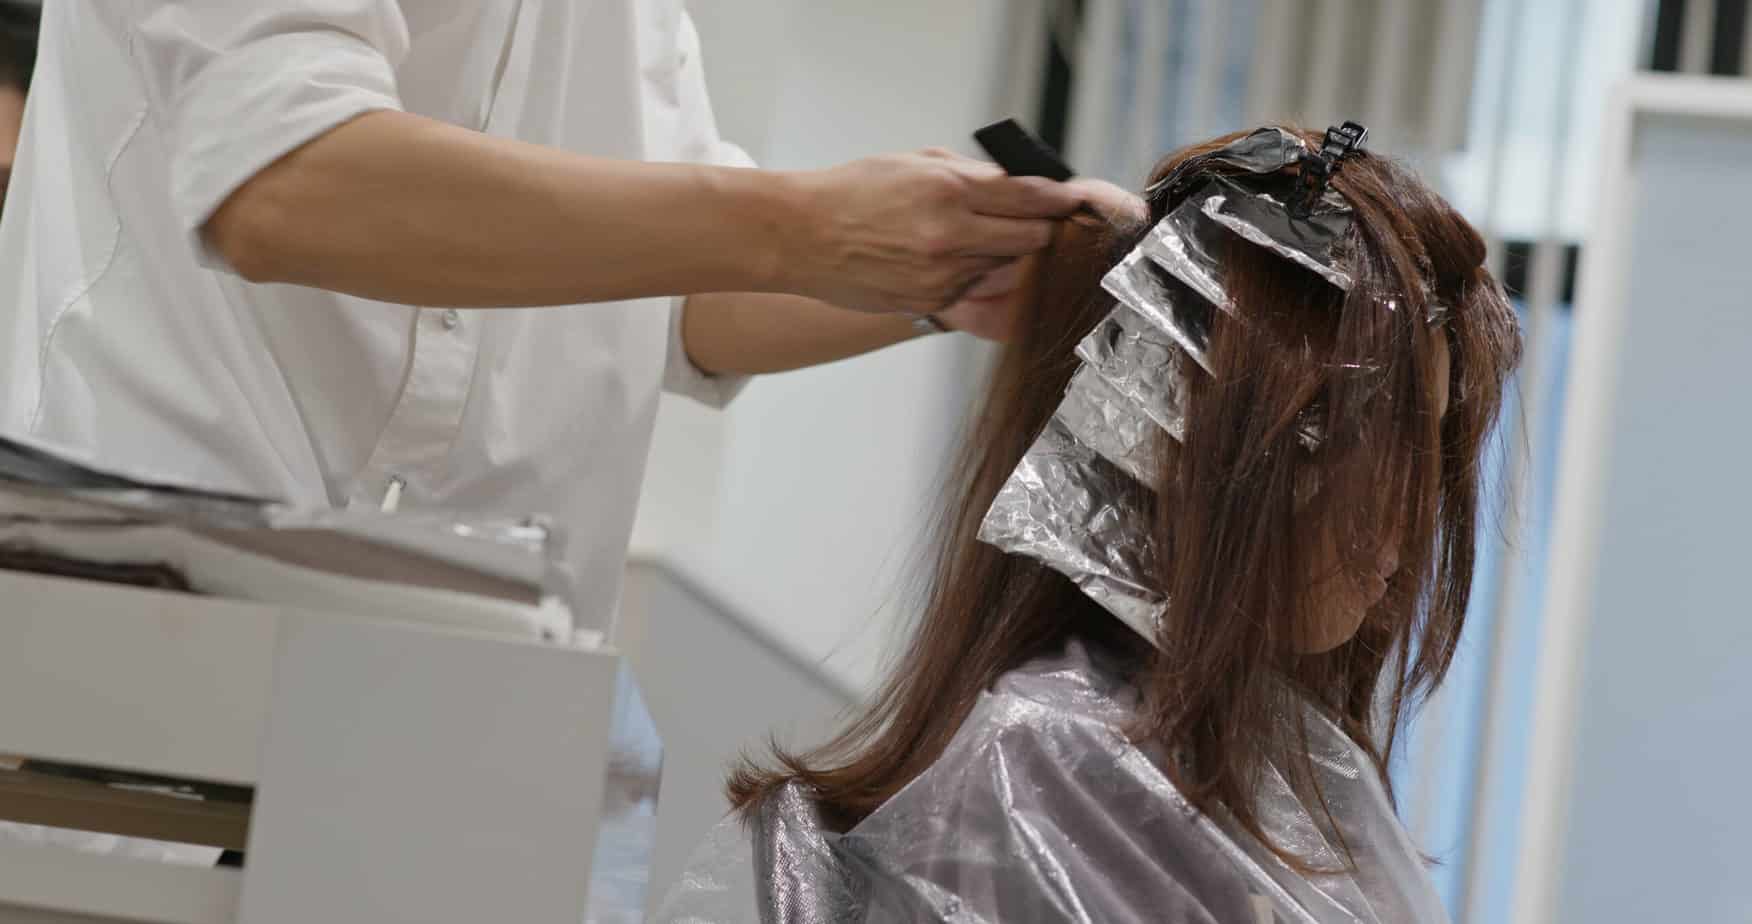
How To Highlight Your Hair
This one’s the amazing part. If you’ve been practicing adding color to your hair with dyes, highlights are the next step that’s both more difficult but also more rewarding.
With highlights, you will be doing the tin foil method. Basically, you’ll want to pick the strands of your hair that you would dye differently. The strands you choose depend on the style you want, so feel free to experiment.
Afterward, you’re supposed to put a tin foil right under those strands so you could brush them with hair dye without getting the other hairs wet. Now isn’t that simple?
The real difficulty with highlights, of course, isn’t with applying it. The problem is more with choosing the right strands. So it’s all going to need a lot more practice, practice, and more practice.
Applying Gloss On Your Hair
Now, hair gloss is quite simple. But you wouldn’t just apply it all the time. Hair gloss is a situational product. It’s added in to make old, dyed hair look bright and for bleached hair to keep its shine.
Normally, hair gloss is done at salons. But there is also at-home hair glossing kits that let you do it on your own at home. Beware though, each brand has its own formulation. You’d best want to follow each one carefully.
As a general rule, however, hair gloss is only applied to dyed or toned hair. And in all cases, you will have to wait for a while so they can settle. If you are planning to gloss your hair, then you better be prepared to spend a lot of time on it, just in case.
Safety Tips For Coloring Your Hair
You always want to make sure you’re being extremely careful when coloring your hair to avoid permanently damaging it. To help protect your hair and keep it safe, it’s best to follow these important tips:
- Read packaging instructions numerous times, and be thorough and clear with them before proceeding. Take note of everything you need to do, and follow each step to the t for best results!
- Don’t leave the product on your hair for longer than what the instructions specify.
- Although most colors nowadays are starting to incorporate more natural ingredients and ditching chemicals, there’s still no man-made hair color that’s 100% chemical-free. Continuous usage will certainly damage your hair in the long run, so dye your hair at your own discretion.
- Consult your physician to make sure that you know about any potential allergies to certain ingredients – they’re more common than you think they are.
- Don’t dye your eyebrows or eyelashes, especially if you’re doing this at home. Remember to test out the color on a small portion of your hair and skin to ensure that you aren’t allergic to the ingredients.
- Don’t mix different hair colors. They have different chemical compositions and could harm your hair when mixed.
- Rinse your hair well after you’re done.
- Don’t forget to wear your gloves!
- Don’t allow children or pets to be around the dye.
Our Top Recommendations
If you’re looking to color your hair soon, look no further. These are the best hair coloring products on the market, hand-selected by our beauty experts!
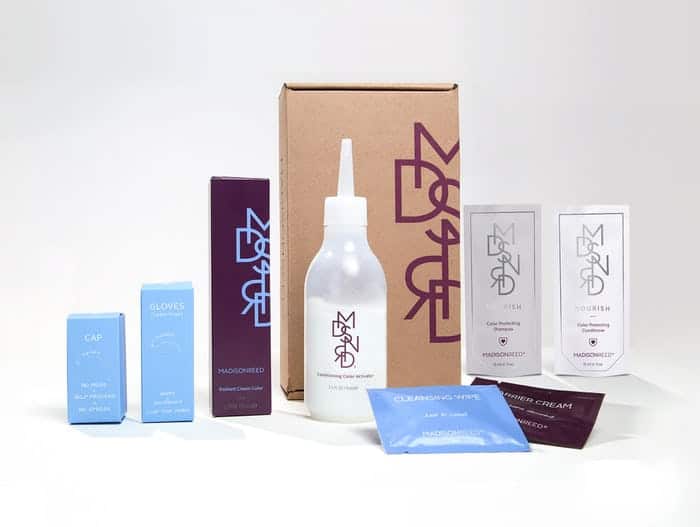
The Best Brand For Professional-Grade Hair Colors At Home: Madison Reed
Madison Reed’s hair products have thus far been revolutionary, and the brand boasts of gentle, chemical-free hair colors that not only help you achieve a beautiful shade for your hair but also nourish it with restorative ingredients such as ginseng root extracts, keratin, and argan oil.
Pros of Madison Reed Hair Colors:
- You’re getting gentle, chemical-free, and high-quality products at a very low price. Sure, the color’s not what you’d find at a salon, but the quality and action of the product can replicate a salon treatment pretty well at home, and because you’re getting these results from the comfort of your home is pretty impressive.
- Cruelty-Free. All Madison Reed products carry the cruelty-free label, i.e. no animals were used to test the dyes.
- Fewer harmful chemicals. Don’t go on worrying about the ammonia, parabens, or phthalates, Madison Reed hair colors are completely free of these damage agents.
- 100% grey coverage after just about 35 minutes. A single application guarantees you full coverage of your greying hair, and with such a short period for which the product has to be left on your hair, you can forget about spending hours and hours at the salon.
Cons of Madison Reed Hair Colors:
- No international shipping. If you’re outside the US but are craving to try out a Madison Reed product, we’ve got sad news for you. Madison Reed products are only available in the United States, and they haven’t been able to offer international shipping thus far.
- They still do contain some chemicals, including ethanolamine. Ethanolamine has often been referred to as a more dangerous form of ammonia, so you’d want to be careful about that. Although a lot safer than the products from other brands, Madison Reed’s hair colors aren’t 100% free of chemicals and can cause some damage, so you probably shouldn’t expose your hair to them all too often.
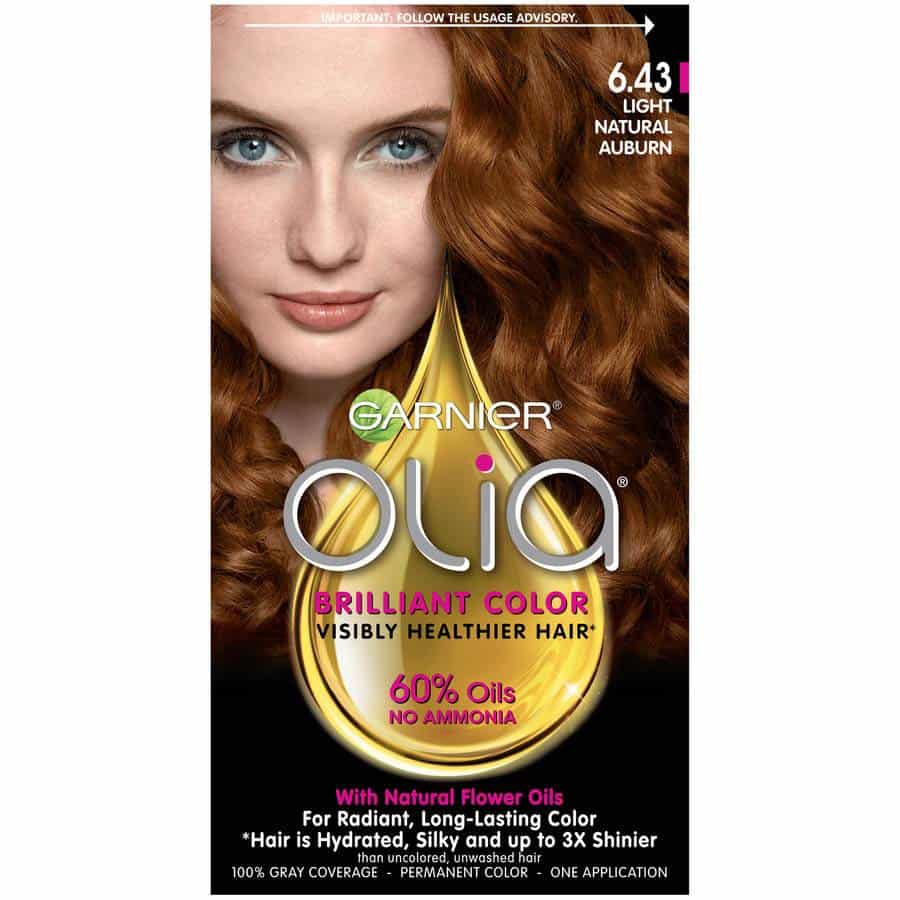
Minimum Damage, Maximum Nourishment, and Fabulous Results: Garnier Olia
Garnier’s new Olia line of hair colors has been praised for its lack of harsh chemicals in the ingredients, as well as an impressive addition of oils to provide your hair with the nourishment it needs after a tedious dyeing session.
Pros of Garnier Olia:
- Garnier’s first oil-based hair color allows you to enjoy a radiant hair color with a natural sheen and a healthy look. Garnier’s formula is 60% oil-based and contains flower oils to nourish your hair. Your hair is guaranteed to look shinier and smoother and reverses lifeless and rough hair.
- An ammonia-free formula that offers 100% gray coverage. Don’t worry about damaging your hair with this one, as it’s long-lasting and covers all of your grays like a charm.
- 34 different shades to choose from. Whether you’re trying to go for a bold look that helps you stand out or a color that looks natural yet radiant, Harnier’s got something for you.
Cons of Garnier Olia:
- Once again, not something you should be using all too often. Although ammonia-free, the product still has other chemicals you need to be wary of. Using this product once in a blue moon when you’re just trying out a new look should be the way to go.
- Contains ethanolamine, a product that has been associated with hair loss. Like we said, continuous usage of Olia might have detrimental effects on your hair, such as discoloration, damage, and increased hair fall.
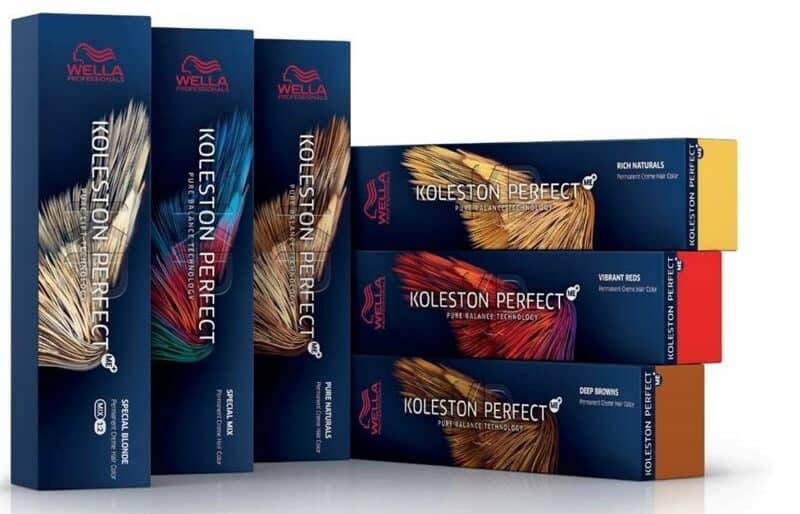
The True Professional-Grade Hair Color: Wella Koleston Perfect
A brand frequently used in some of the world’s biggest salons and has continually been praised by celebrities and stylists alike, if you truly want to give your hair the luxury treatment, then Wella Koleston Perfect is the product you need.
Pros of Wella Koleston Perfect:
- Professional product at a reasonable price. Wella’s hair colors have always been remarked for how high-quality they are, so you needn’t break a sweat while purchasing one — you’re in good hands. The hair colors are vibrant, natural, and will leave your hair feeling healthier than ever. You’re getting the professional treatment here, but it’s just that the price tag is actually not outrageous.
- New formula that helps prevent allergies to hair color. Wella’s new ME+ technology greatly reduces your risk of getting an allergic reaction after applying the hair color.
Cons of Wella Koleston Perfect:
- Customers have complained that the colors they’ve received look nothing like what’s on the box sometimes. You should try testing the color out on a surface or on a very small section of your hair to check out what it does before you go all in.
- Minimal gray coverage. Another gripe that customers have is that the product isn’t too suitable for gray coverage.
Frequently Asked Questions
Answer: Sure you can! Just follow instructions and have two mirrors at hand, and you should be good to go. It’s always nicer to have a person around to help touch up blind spots and give you confirmation that everything’s going well, especially if it’s your first time trying this at home.
Answer: While a neat smock, brushes, bowls, towels, mirrors, and possibly a helping hand are pretty much everything you need to color your hair just fine, having some extra materials such as neck strips, a timer, a shower cap, a comb, and some gloves can go a long way if you want mess-free and clean results.
Answer: Stylists hate boxed hair colors because of how terrible and damaging they are. While salon hair colors are carefully formulated to not only dye your hair and preserve its health, boxed dyes simply stain your hair.
And because they’re packed with harmful chemicals, they end up doing more harm to your hair. If you’re going to go for a boxed hair dye, we recommend that you don’t try this often, and go for a higher quality product.
Answer: There’s no avoiding the truth: yes, dyeing your hair will affect its integrity. That said, the word “ruin” is a bit harsh, and there are ways to protect it. By sticking with the appropriate volume level of developer, not using too many treatments at one time (for instance, do not perm your hair the same week you bleach it), and using salon-grade protein and moisturizing treatments, you can offset the worst of the damage.
Answer: When coloring your hair, it’s important to note that there’s no “one size fits all” approach to take. For instance, if you have virgin hair, you’ll want to handle it differently than if you have processed hair. That said, there are a few things you’ll want to keep in mind before you dye your hair (whether this is your first time, or you’re an old pro at it!).
These include doing your research before you start, consider going to a professional if you have several things you want to be done to it (i.e., you want to both bleach and color it, or you want to go up or down several levels), and be open-minded about your results. Sometimes, it can take more than one sitting to get the color you want.
Final Thoughts: How To Color Your Hair
Sure, coloring your hair can be pretty intimidating, but for sake’s sake, you gotta remind yourself that it’s just a little bit of pigment sitting on your hair that can easily be removed or altered. Make sure you don’t pull off any stunts using permanent hair dye or bleach, we ain’t taking credit for that hun!
Jokes apart, all that there is to hair coloring is a little bit of research and careful following of instructions and safety protocols. Choose a high-quality that isn’t going to fry your hair, you want those locks looking soft and shiny.
Once you’ve taken the steps and done ‘em right, all that we’ve got to say is enjoy that new hair color and flaunt it like you’re a celebrity – you deserve all those compliments!
Further Read:
- How to Find the Best Purple Hair Dye: Our 5 Top Picks
- 15 Best Plum Hair Color Ideas To Transform Your Look
- What is Shadow Root Hair? 7 Most Flattering Styles You Will Love
- Balayage vs Highlights: What’s the Difference?
- 10 Amazing Blue and Purple Hair Ideas
- Top Dirty Blonde Hair Ideas You’ll Love!
- Unnatural Hair Color Ideas Guide: 6 Most Popular Shades
- 8 Most Flattering Caramel Hair Color Ideas Guide
- Dr Squatch Shampoo Review: Is It The Best Shampoo For Men? - April 21, 2022
- 8 Best Aloe Vera Shampoo Products: A Complete Guide - April 19, 2022
- 9 Best Non Binary Haircut Ideas: Which Hairstyle Is Perfect For You? - April 18, 2022