
As far as protective hairstyles go, twists are my favorite. They’re easy to install and take out, easy to care for, create fewer tangles and always give that effortless vibe. Flat twists are like cornrow braids but *bougie*.
It might sound like I’m gushing, but I can’t help it. Even though they’re like cornrows, flat twists are so much more. They can be a style on their own or part of another hairstyle. Flat twists also make a neat base for a wig or sew-in (wink wink), and when you take them out, you even get a bomb twist out. Talk about two for the price of one!
A flat twist would look great on you no matter your hair type or where you are in your hair journey. Flat twists are a great way to keep your hair definition even when twisted.
Bottom Line Up Front:
The best hairstyle is one that looks great on you, expresses your personality, and keeps your hair out of danger. Choose a flat twist style that does all 3. My favorite is the chunky straight twist—it’s great for every occasion and perfects if your goal with the hairstyle is to keep your hair protected.
What are flat twists?
Flat twists are cornrow versions of a regular two-strand twist in its simplest form. One piece of hair is wrapped over another and twisted flat along the row while more hair is added until the end. The result is a beautiful, symmetrical, and intricate flow of hair that looks like a corncrow.
How to do a flat twist
Once you get the hang of it, flat twists are super easy. But before you get to that point, you’ll need some practice. A lot of it. First, you need to have some knowledge of how to do a simple two-strand twist and cornrows. You’ll need to combine these two techniques to create a flat twist. Here’s how you do it:
- First, part the hair into sections, following the direction of the look you’re going for. Next, part the sections into individual lines or rows for the twists. Pro tip: when parting the rows, make sure the parts are defined and separated from each other. For curlier hair types, use a small amount of holding gel between parts to keep them from merging.
- To begin the twist, grab two small or medium-sized pieces of hair like you would if you were starting a single twist. Twist the pieces of hair around each other a few times before laying them flat against the rest of the section.
- Part out a little piece of hair from the row with your finger and add it to the bottom twist.
- Repeat this after each twist. Feed equal amounts of hair to each bottom piece, so the whole row looks even and straight.
Before you start your flat twists…
For the best flat twists, you need to prep the hair. Prepping the hair before a style makes it look great in style and provides an environment for it to thrive.
Moisturize
I recommend starting this style with freshly washed and conditioned hair. Follow up with your favorite hair milk, cream, or mist. For curlier hair textures, always use a leave-in conditioner for extra moisture.
Stretch
You don’t need the frustration of constantly picking out hair strands from the next row as you twist. Stretch the hair ahead of time with a blow-dryer or any other heatless method. Stretched hair is much easier to work with and is less likely to get caught in another part while doing a flat twist.
This will save you so much time if you install your flat twists yourself. You’ll be able to see your parts clearly and focus on one at a time. It is also a useful base for when there are other elements to your hairstyle besides the flat twists.
A Hairstyle
It goes without saying, but I’ll say it, anyway. You need to know what hairstyle you’re about to create. This will help you plan your parts and sections ahead of time (do the math if you have to). You won’t have to undo or redo any flat twists after you have started.
You’ll save time, protect your hair from unnecessary manipulation, and avoid extra-arm workouts. Knowing what you want also helps you find other tools or equipment you need to create the style.
Flat Twist Hairstyles to try
Flat twists are versatile. You can wear them alone or in combination with other styles to create a unique and beautiful hairstyle. Here are a few basic flat twist variations to try alone or as a mix of two or more.
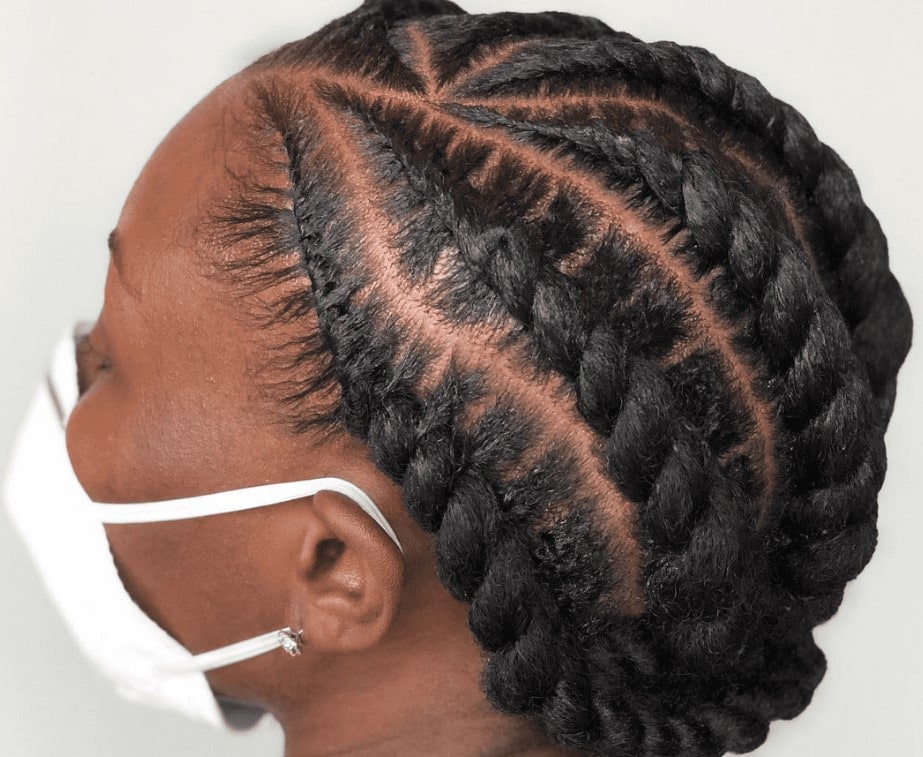
Straight back flat twists
These are simple flat twists running from front to back. However, they can be any size; most people like their straight twists to be on the medium to chunky side. It depends on preference and hair (strand) thickness. I would wear smaller flat twists for ‘every day’; they’re functional and would fit under a wig if need be.
But when I want my flat twists to be the main event, I’d prefer them to be larger or chunky. People with short hair or thin strands would most likely need to use extensions to achieve a chunky look.
Straight flat twists don’t always have to be “straight”. They can have parts or even wriggles for some pizzaz.
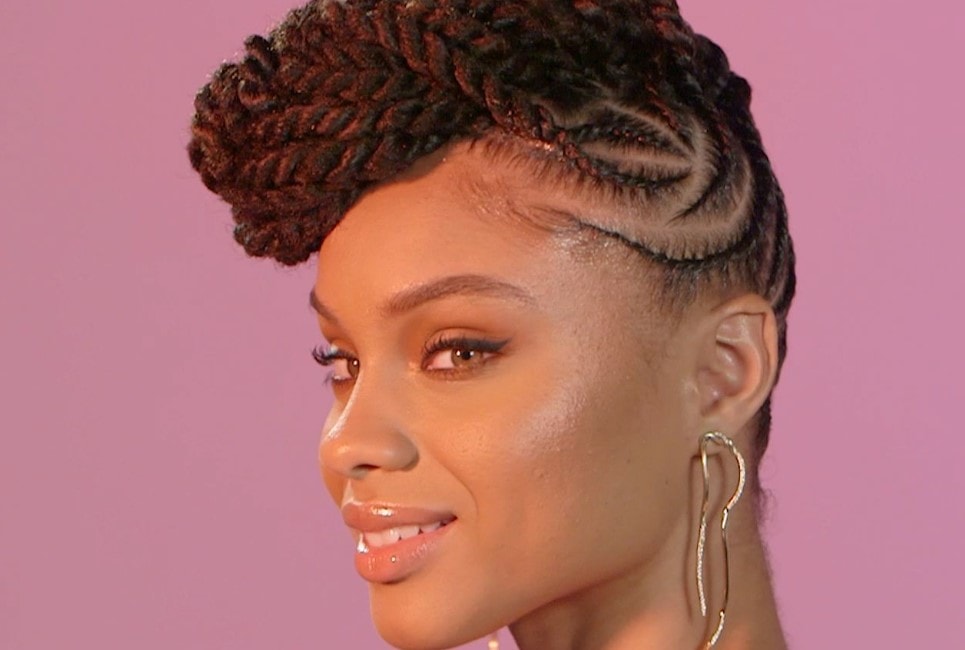
Halo/ Crown flat twists
Sometimes, I call these ‘goddess’ twists because they make me feel like one! For this hairstyle, the hair is parted into two sections. The parts could be down the middle and equal, or on the side, with one bigger than the other. People with thicker hair can have a third part in the middle that isn’t visible from the front if they don’t want the two at the side to be too thick.
Once divided, each section is twisted in opposite directions from the other. The left section will start from the middle and continue to the left. The same goes for the correct section. When there isn’t more hair to feed into the braid, the hair is twisted like usual to the ends. These twists frame the top of the head like a crown.
For variations of this style, you can:
- Leave the ends of the twists (don’t forget to secure the ends with a band if you have a loose hair texture)
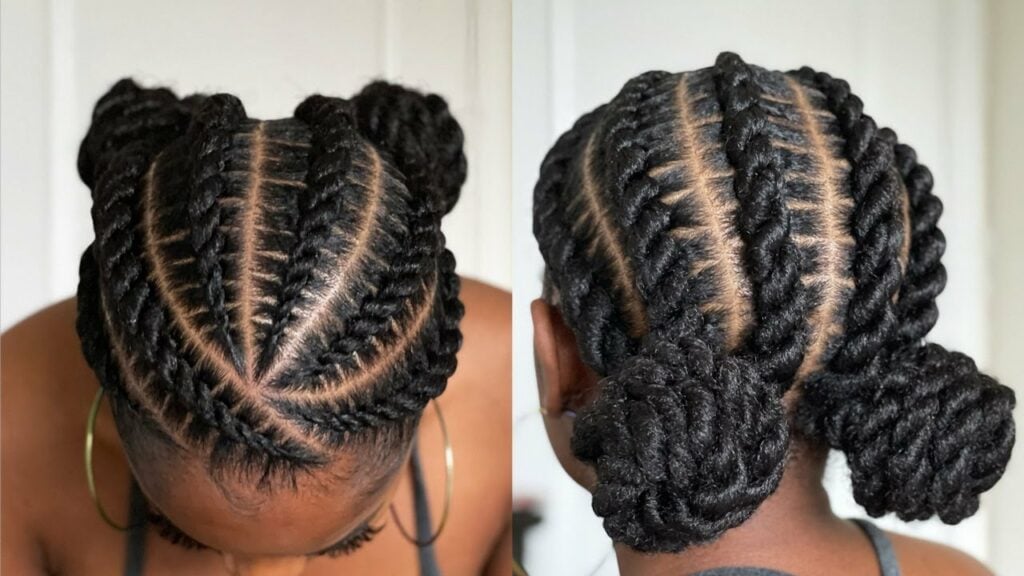
- Wear the ends of the twists in individual buns (like bunnies)
- Wear the ends of the twists together at the back or side in a bun or ponytail
- Tuck each end into the opposite flat twist and secure with a pin
Instead of two separate flat twists, you could have one big twist running from one end to the other. The braid could start at the nape of the neck, go in any direction so that the thickest or highest point is at the front or crown, and then taper as it gets to the back of the head again.
However you choose to wear it, the halo will always have a rope-like twist running from one end to the other.
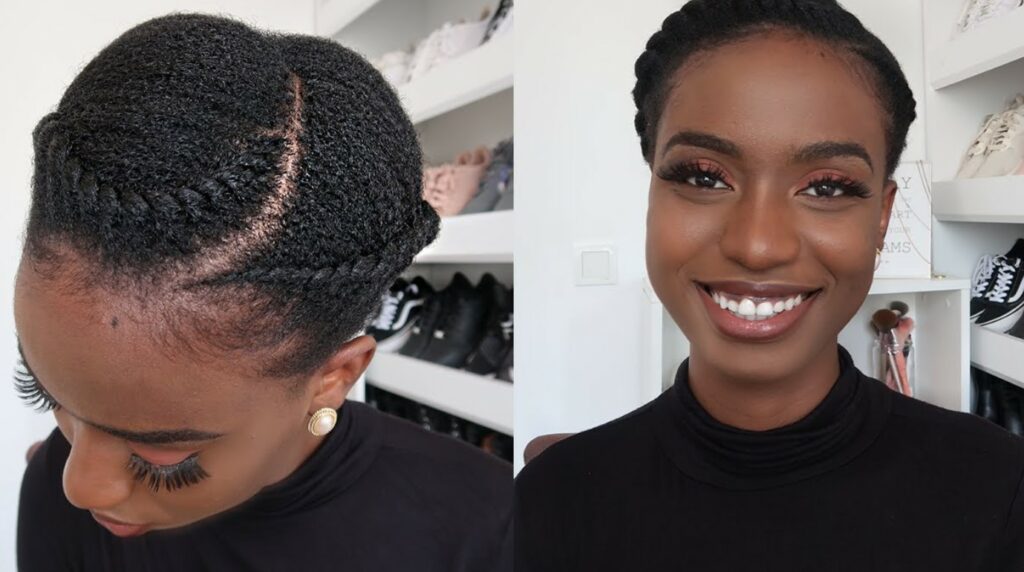
Flat Twist Updos
You can never go wrong with this one. You can:
– flat twist all the hair from the back (like a reverse french twist) and end with a creative swoop at the front
– flat twist individual rows that meet at the side and tuck the ends into a high bun or left out in a mohawk.
The possibilities are… maybe not endless, but vast. Let your creative mind lead you!
Flat Twist out
Technically, not an actual flat twist style, but cannot be ignored. A twist-out is a great way to create beautiful waves without curling irons or equipment. To achieve a twist out, flat twist as usual and wear the flat twists for at least one week before taking them out. So you get to enjoy two hairstyles for longer.
If the intent is the twist out alone, keep them in for at least 24 hours if you’re going heatless. If you’re using heat, go for a low heat setting that won’t interfere with your hair texture. But, it should be hot enough to dry the hair fast, so you don’t sit in place for hours. When the hair is dry, gently take out the braids. Make sure you don’t break up the strands during this process, as it might cause frizz and mess up the style.
Once the braids are loose, separate the sections to your desired wave size. Next, fluff the roots to give the hair more volume, especially at the parts where there will likely be some scalp showing.
Flat twists… with a scarf
Some might not agree with this, but I say it counts. Thanks to TikTok, people are now wearing flat twist styles with a scarf. One ‘half’ of the twist is a beautiful silk or satin scarf while pieces of hair are twisted or folded around it. The scarf adds a chic and sophisticated touch to the style. It is also a layer of tangle-free protection for the hair. And it is so easy to take down—unwrap the hair from the scarf while holding one end of it.
As you can imagine, it makes for a great twist-out style when you take it down too!
FAQs
Answer: Flat twists can’t grow your hair…your body takes care of that. Scientists say that hair grows about half an inch every month, no matter what you do or don’t do. Your hair will always grow on its own.
However, unlike cornrows, flat twists give enough room for your hair to grow while you have them in. They are looser and less complicated (intricate), making your hair less likely to tangle. This is especially good for people with 4c hair; you can rock a great hairstyle without worrying about stifling new growth or tangles afterward!
Answer: As long as you can keep them in. Like any hairstyle, you need to care for your hair while you have flat twists in. Moisturizing and sleeping with a silk or satin scarf/bonnet will ensure your hair strands are protected while the hairstyle stays in place. But you can’t escape the undergrowth.
As new hair grows, the twists will become loose and not as ‘fresh’ as when you first got them. Personally, this is not a problem for me. I like the significant hair effect I get when my braids relax after new growth. For most people, this might not be the case. Based on that, flat twists will last for as long as it takes your hair to have a new layer of growth, anywhere from 2 to 6 weeks.
Answer: The general definition of a protective style keeps your hair strands protected, and your ends tucked away while giving access to the scalp. Depending on the intricacy of the style, flat twists tick all these boxes and could be considered a protective style.
Answer: Yes. Anyone with any hair texture can wear a flat twist hairstyle. But, it will not look the same on all hair textures. Straighter hair types may have small flat twists, while curlier hair may have voluminous flat twists. The best part is that you can always add hair extensions to your twists to make them bigger.
Conclusion
I love flat twists. They’re low manipulation, low maintenance, and all the goodness of a simple but flexible hairstyle.
Even though I think they’re the best thing ever, I’ll be the first to admit that they’re not the easiest to master. I would suggest doing a lot of practice on your hair, a doll’s hair, or any willing participant to get it right. And if you’re not quite ready for all that arm workout, go to a professional.
To get the best out of your flat twist, take care of your hair strands and scalp. If you plan to keep them in for a while, often moisturize and keep your hair clean. This will keep your flat twists looking as juicy as they can for as long as possible.
Also, don’t be afraid to accessorize. Express yourself through your hair.
Use this style guide to create your unique flat twist hairstyles, or find your wave with a french braid.
Looking for more interesting hair colors? Check out:
- Dutch Braid Vs French Braid: Which Gives Better Waves?
- Black Cherry Hair Color Ideas & Style Guide: Will This Be Your New Favorite Hair Color?
- Cinnamon Hair Color Ideas & Style Guide You Need To See For 2022
- How To Find The Best Lavender Hair Dye
- Soft Locs Hairstyles Guide - October 24, 2022
- Knotless Braids Ideas & Style Guide - July 28, 2022
- Flat Twist Hairstyle Guide - July 4, 2022