

When it comes to trying new things, I’m usually first in line. But it took a lot of convincing to get me to try knotless braids. I live for braids—the bigger the braids, the better. And the thin, almost flat look of knotless braids just didn’t appeal to me. I’m forever grateful I got over myself and tried knotless braids—I’m now a believer!
It is unclear who invented this style or where it came from, but it’s been a game-changer in the braiding community.
Bottom Line Up Front
Of all the knotless braid styles, the medium-sized knotless braids are my favorite. They offer full scalp coverage because of the size and the ‘big hair’ look I like, without added tension on my head.
What are knotless braids?

Knotless braids are braids without knots. No really, they are.
A regular box braid has the bulk of the extension added to the hair at the root and is then braided all the way down. For a knotless braid, the extension is added in smaller pieces after braiding. This way, the root or base of the braid is not bulky but grows evenly down the braid, depending on the intended size.
Sometimes, the piece of hair is braided on its own a couple of times, then a little piece—out of the total extension for that braid—is added, braided a few times, and then another is added until all the extensions for that braid are exhausted. The technique is similar to Ghana weaving braids where the weaving starts at the edge with just one’s hair, and then the extensions are fed in bit by bit until the intended size is reached. But, unlike Ghana weaving, knotless braids pay more attention to the health of the hair, so the grip is not as tight, and the edges are protected.
Preparing for your braids
Start with clean hair:
While it may be tempting to do your braids in between wash days, because (for me at least) the hair just feels better, I always recommend getting braids done on freshly washed hair. Because you’ll have your braids in for at least 3 weeks, where you’ll have limited access to your scalp, you need to make sure that the scalp is clean. This is to avoid bad smells, itchiness, or harboring any unwanted guests on your scalp before covering it up with braids. Knotless braids may be more visible at the roots in the beginning, but as time goes on and your hair begins to grow out, a lot of things could get trapped in the roots. You want to make sure there’s nothing in there that you don’t want.
Stretch your hair:
This is still controversial in the natural hair community. Some people don’t believe stretching is important before getting braids. I recommend it because there are fewer chances of shedding and tangles. Also, it makes for cleaner parts, and smoother braids, as stretched hair is easier to tuck into the hair extension during the braiding process. Of course, people with relaxed hair and straight textures do not have this problem. Just wash, blow-dry and you’re ready to go.
Moisturize:
Knotless braids are a protective style, and it is always good to moisturize your hair before a protective style (otherwise you’re setting yourself up for major breaking when you take it out). Moisture in this case can be a water-based cream or milk, applied lightly (to prevent shrinkage for kinky hair types) and sealed with a little bit of light oil—shea butter, coconut, or almond oil works well.
Parting:
If you’re doing your hair by yourself, you may need a lot of practice to get this one right. And unless you’ve been doing your hair yourself for a long time, don’t expect your parts to be straight. Parting is really important for knotless braids because they’re more visible than traditional braids. I like to start my parts in rows (using a mirror in front and at the back to guide me). Then, when I have the individual rows sectioned off, I start braiding my hair row by row, parting out individual pieces as I go.
The hair extensions:
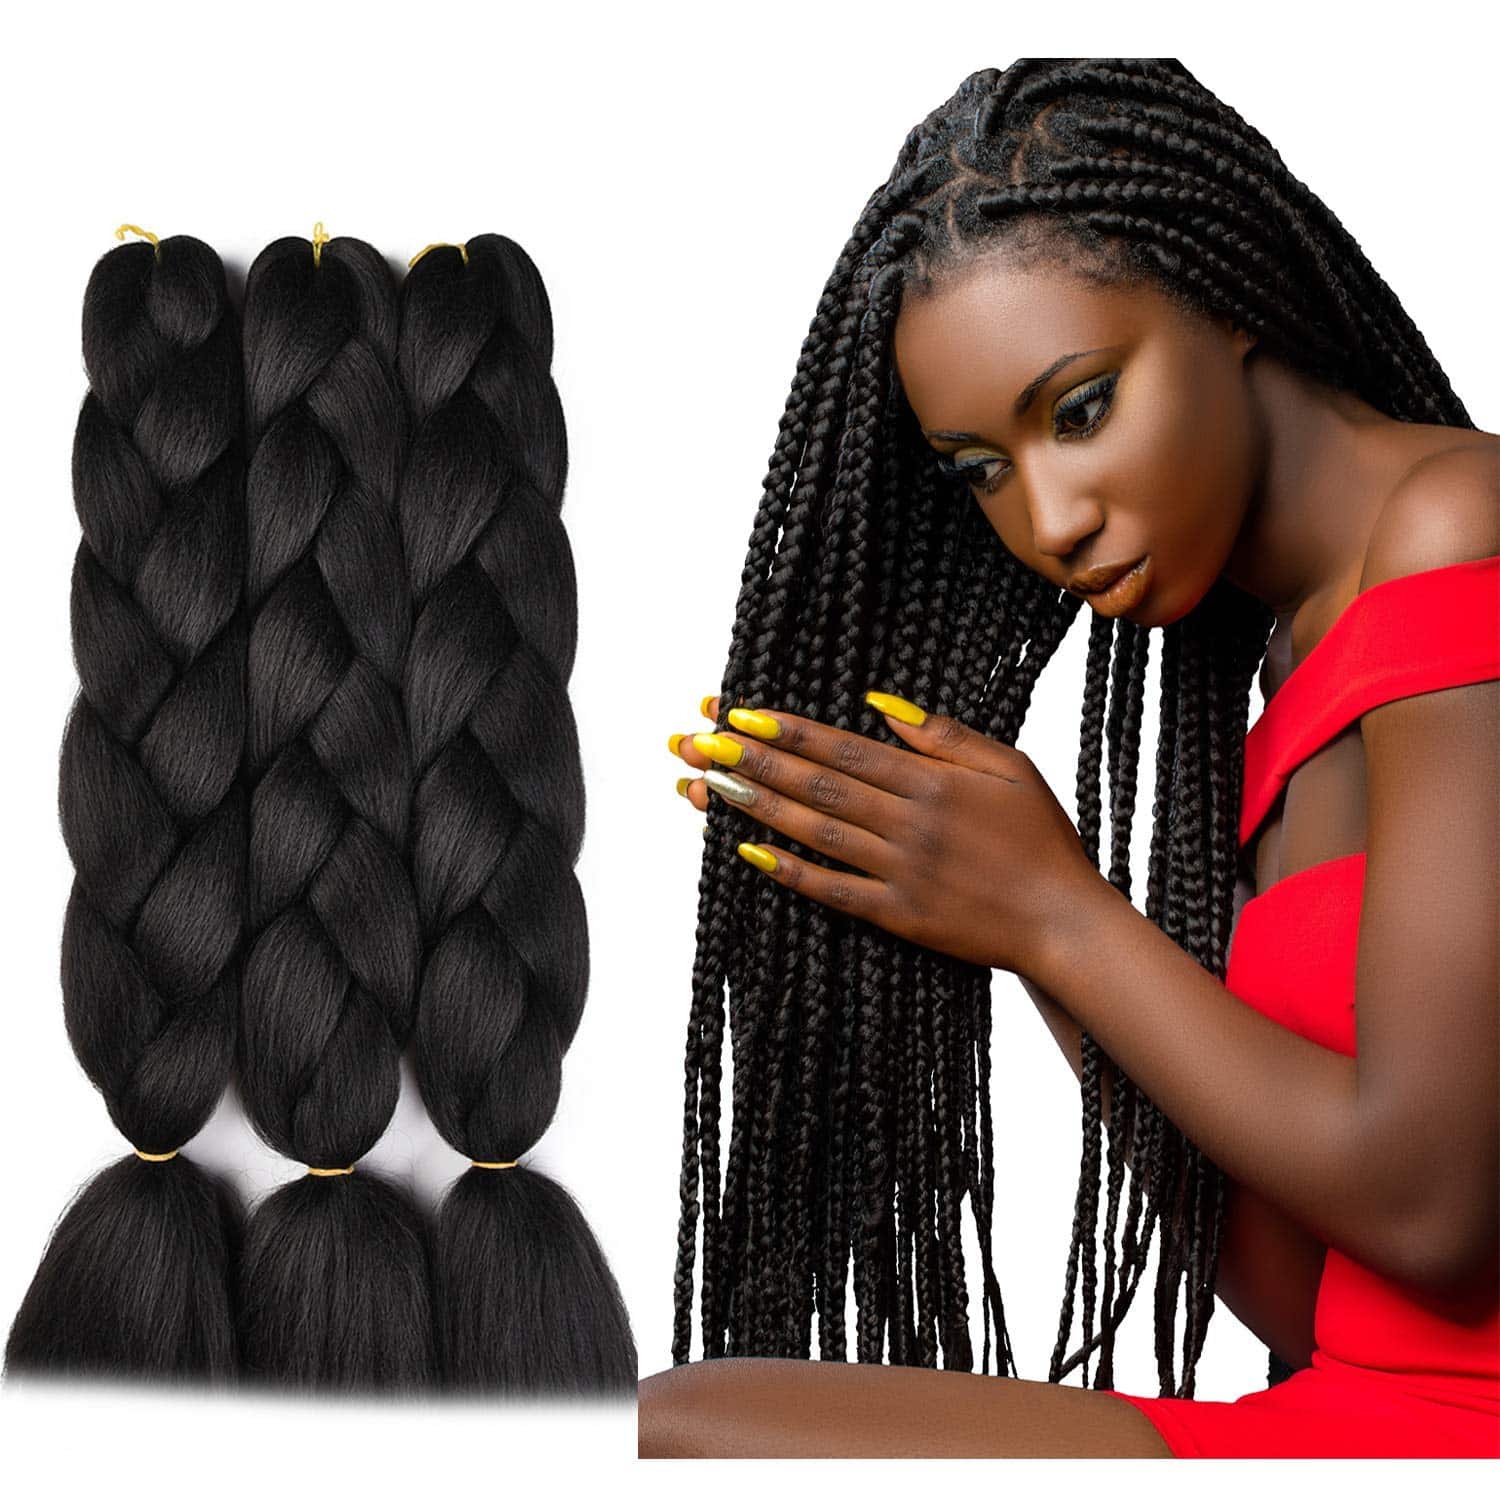
There are so many options for braiding hair in the market today. The one you choose should depend on the quality of the hair, the texture of the braided look you’re going for, and the thickness. I like thick braids, so I go for braiding hair with a thick/kinky texture. The result is a thick braid using fewer extensions. For thin or small braids, opt for thin braiding hair. While most synthetic braiding hair is resistant to a certain point, look out for the ones that are resistant to heat above 400F if you’ll be doing heat curls in your style. Also, look out for pre-stretched and pre-washed braiding hair. If you’re braiding your hair yourself, using this type of extensions will save you so much time. All you’ll have to do to prep the extensions is to separate them into little pieces before starting. Some hair extensions even come pre-portioned, taking the guesswork out of portioning out the hair you need for each piece. The braiding process is faster when you separate the extension pieces before braiding. You just grab a piece and braid. Or… you could have someone do it for you as you braid.
Get comfy, it could be awhile: box braid installs last awhile. On average, it takes 3 to 6 hours to complete a style. If you’re doing them yourself, it could last longer, depending on the length. So, wear comfy clothes, find a comfy chair and line up your favorite shows to keep you distracted during the process. It may not be easy, but the results are worth it!
Knotless Braid Styles
Knotless braids are probably one of the most versatile of all braiding styles. The light and flat nature of the braids allow for creativity in the way they can be styled, even beyond the original style of the braid.
Knotless braid Sizes
Knotless braids have the magical power of being distinct when it comes to sizing. Because the braid typically starts out with a small base, it is easier to maintain its evenness throughout the length of the braid.
Here are some different size knotless braids for you to try:
- Jumbo box braids: these are chunky braids, usually between 8-12 pieces. They are a great low manipulation style, easy to install and take out. Jumbo braids are for the *effortless baddie* look. They might require more braiding hair per piece than others, but they are usually very light in comparison.
- Medium-sized braids: these are probably my favorite. They embody the two great things about braids for me: thick and dense braids that cover my scalp but with no tension on the scalp because of the knotless braiding style. Medium knotless braids are typically very dense, that is, they have more braids than most others. Still, they’re very light and not bulky!
- Small-sized braids: probably the most common size knotless braids. Small braids are the lightest and easiest to style. They’re also a great way to show off ones braiding skill and fancy parting. The braids are usually ‘scalpy’ in the beginning, but they take on a new look when new growth begins to come in.
Knotless Braid parts
The wonderful thing about knotless braids is that the beauty is not just in the braids themselves, but also in the shape of the part and how the braid ‘springs up’ from the scalp.
Here are some fancy-schmancy parting styles to try for your knotless braids
- Triangle part: for this one, a triangle part is made from horizontal rows. In the end, you get rows of triangles that are right side up and upside down—like an Aztec print. This style works best on small-sized braids so you can really show off the beautiful pattern.
- Square/box part: this is the regular box pattern where each piece of hair is parted in almost equal sizes across the horizontal row. It looks great with both small and medium-sized braids.
- Diamond part: probably my favorite and arguably the most difficult to achieve, the diamond-shaped part is like a square resting on its tip. It combines the techniques for box-shaped and triangle-shaped parts. This parting style works with all sizes of braids.
Ends/length

Since knotless braids are typically very lightweight, it gives one an opportunity to do so much more to them without putting additional pressure on the hair. From unique designs at the ends to adding loose pieces along its length, you have many ways to play up your already beautiful braids.
- Curly ends: probably one of the easiest and classiest ways to chic up your knotless braids is to curl the ends. A light swirl at the tip, large curls, or a more ‘crimpy’. I find that these look even better in an updo — like a high bun or top knot.
- Colored braids: don’t judge me, but there was a time I didn’t like having color in my hair. Thank God I moved past that! Now, I enjoy experimenting with colors in every braiding style I do. In fact, I believe a knotless braiding style is not complete without some color in it. The straightness and evenness of the knotless technique lend an easy flow to any mix of colors in the hair. It becomes a work of art.
- Long braids: if you like long braids, this technique gives you the freedom to have braids as long as your toes (don’t trip on it though!). You won’t have to worry about heaviness in your daily life or the discomfort of sleeping with braids. I can’t say you won’t feel a thing, but I will tell you that it won’t be a lot. At least not like with regular box braids.
- Short braids: you like to keep things simple, that’s great! You can do that with short knotless braids. As a bob or shoulder-length style, your knotless braids will give you glam and comfort in a package. I would recommend doing medium or large-sized braids that are thick and dense for the full bob look. Also, be careful not to cut your own hair while it’s in the braids installing or taking out these braids if you have long hair. Trust me, you don’t want that pain! And if you’re doing a short braid style with blunt ends, be sure to seal with heat so the ends don’t unravel.
- Boho knotless braids: there are several ways to achieve this look. Some of the most popular ones are leaving out small pieces of braiding hair at intervals throughout the length of the braid or stopping the entire braid halfway down the length of it. For the leave out, one half of a piece of braiding hair is left out while the rest of the hair is braided. This piece could also be threaded through a finished braid using a crochet hook. For the real boho vibe, the pieces left out or at the bottom of a half braid are usually curly and wispy. You can rock this hairstyle in an updo as well.
- Blunt ends: while most braids taper out naturally at the ends, a unique way to style your knotless braids is to cut off the ends where it’s still “chunky”. To prevent it from unraveling, you can either seal the ends with heat or small rubber bands to give the tips a paintbrush look.
- Beaded ends: beads look great on any braiding style. But when you have lightweight knotless braids in, you have the freedom to add as many beads as you want to your hair. And you won’t have to worry about it being too heavy. Just enjoy the look and the tinkling sounds of the beads hitting each other (if you like that sort of thing).
- Knotless twists: why stop at just braids? The knotless technique makes it so that even twists will be lightweight. It’s as easy as starting the braid off using the knotless technique and then switching to twists for the rest of the braid.
- Knotless Passion braids: passion twists have taken the braiding world by storm. While there are many ways to install these braids, the knotless technique makes for a unique look. It takes away the bulkiness from the roots and defines the braids even more. Some people have said their passion braids last longer using this technique.
IDEAS
- Medium braids: I love these because they’re not too scalpy, protect my hair and I’m able to sleep comfortably with them in.
- Jumbo braids: the best thing about this style is that the parts can take on different shapes. Like this jumbo braid with a heart on the side.
- Triangle knotless braids: be a little extra, show off your braids and your parts too!
- Diamond knotless braids (YouTube video)
- Boho knotless braids: those falling tendrils are mesmerizing. Be careful so they don’t get caught in things or tangle!
- Blunt knotless braids: the longer I look at these, the more I want to cut my hair so they can fit into a blunt bob!
- Knotless twists: if you like two-strand or three-strand twists and you definitely love these knotless black and caramel twists!
- Knotless passion braids: as box braids or twists, passion braids are always a hit. These waist-length knotless passion braids are definitely making a statement.
FAQs
Answer: No one is better than the other. While some people believe that knotless braids are a better protective style because it puts less tension on the hair and scalp, I believe it’s more about the handling than the actual hairstyle. A good stylist knows how to take care of the hair while installing the braids so that the hair underneath does not get damaged. In that sense, the hairstyle does not matter, the consciousness of the person doing the hair—you or someone else—is what matters. Knotless braids do give better access to the scalp for cleaning and oiling while the braids are in. But overall, I don’t think one is better than the other.
Answer: They last as long as you want. On average, people keep braids for 3-5 weeks. This depends on major factors: personal preference and the physical appearance of the style. I like to leave my braids in as long as I can because it takes 5 hours to install and 5 and a half hours to take out…I don’t relish it. On the other hand, because the very nature of knotless braids is to go easy on the scalp, it means that for most people, new growth will begin to show much faster. While this is not a problem for some people (aka, me), it looks rough and unkept for others who prefer their braids to show more scalp. However, with proper maintenance (and a decent amount of gel), you can make your braids last as long as you want them to.
Answer: Absolutely! Like most long-term hairstyles, you need to clean them often. And knotless braids are easier for cleaning because it gives ample access to the scalp. You could shampoo and condition your hair like normal if you have a decent amount of new growth. But, I prefer to use a mix of equal parts water and apple cider vinegar to “wipe” my scalp at least once a week. Then I massage my scalp with some oil afterward to mask the strong apple cider vinegar smell. If you’re not ready to take the braids out just yet, you can cover up the new growth by defining the parts if they’re not visible anymore and adding a water-based gel to keep the hair in place. Be careful not to use too much product so you don’t clog your pores.
Conclusion
Knotless braids are a great way to wear lightweight braids with hair extensions. They’re easier to install and take out. While they might not be your choice if you like “big braids”, they are undoubtedly stylish and make sleeping with braids so much easier.
These braids offer a simpler, less bulky way of protecting the hair while allowing people to look beautiful as they go about their lives.
If you’ve never tried knotless braids before, I recommend starting with jumbo braids. Despite their large size, they are easy to wear and style.
Which knotless hairstyle are you going to try out next?
We’ve got more hairstyles for you to try! Check out:
- Bardot Bangs Ideas & Style Guide: From Retro To Modern
- 16 Wolf Cut Short Hair Ideas & Style Guide: Anyone Can Wear It
- Black Ombre Hair Ideas & Style Guide: Which Is Your Favorite Look?
- Wispy Bangs Ideas & Style Guide: Which Style Is Best For You
- Soft Locs Hairstyles Guide - October 24, 2022
- Knotless Braids Ideas & Style Guide - July 28, 2022
- Flat Twist Hairstyle Guide - July 4, 2022