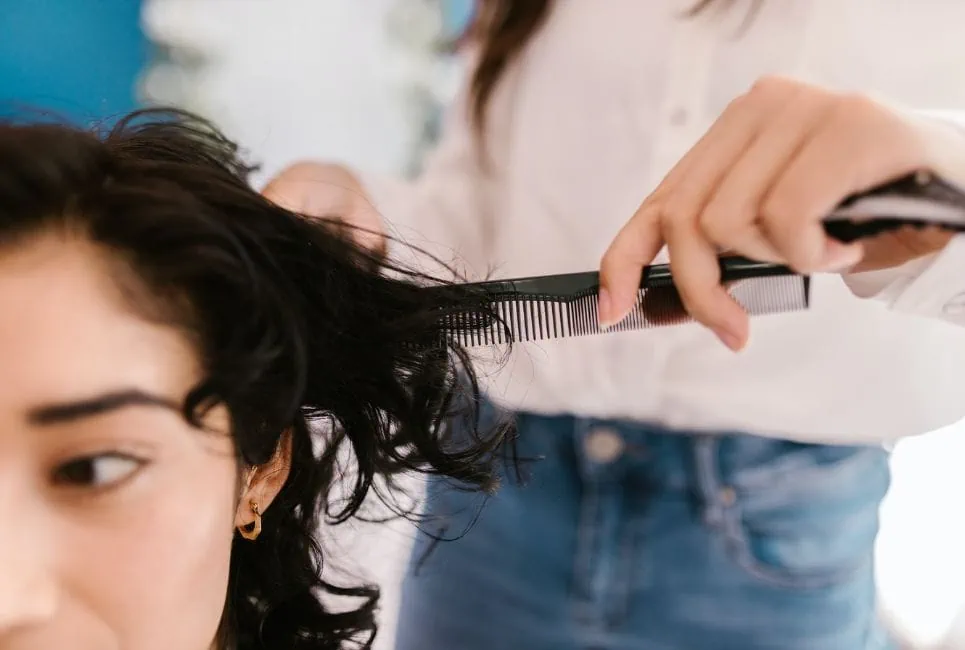
Thinning your hair isn’t something to dive into without any thought. It’s not always a simple technique either; approaching the process can feel intimidating, whether you’re an expert at cutting hair or a total beginner.
If you’re fortunate enough to have fulsome hair and are considering thinning your locks in the comfort of your own home, below is my guide on how to do this.
Alternatively, you might be into all things hair and want to chat with your hairdresser more knowledgeably. If so, this step-by-step guide is also for you.
Either way, let’s get into my guide on how to thin your hair!
The Tools You Need to Thin Your Hair
Naturally, your hairdresser will already have these to hand if they’re thinning your hair. Alternatively, if you’re attempting to do this from home, you’ll need the following:
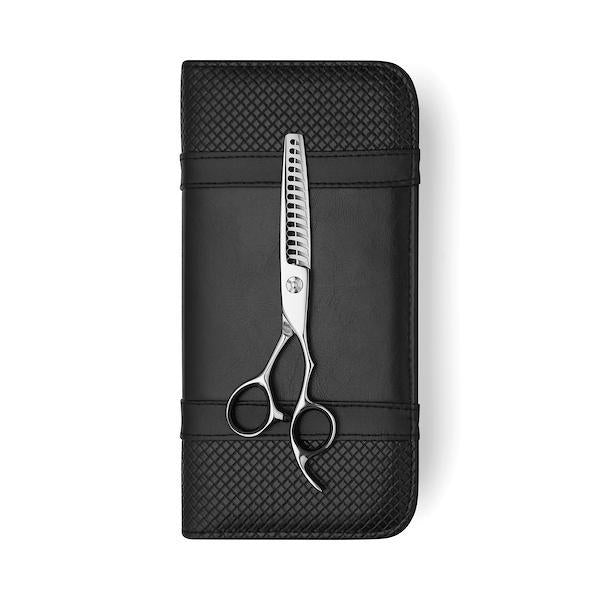
- Thinning shears*. You can buy these from a specialist beauty supplier or on popular marketplaces like Amazon.
- Hair clips to section your hair
- A comb (this is optional)
- A large mirror – Ideally, one that you can move around to see the back of your hair to help avoid an uneven result!
- A well-light room, ideally with natural light, plainly decorated walls, with room to hang or put your mirror against.
- A towel
*A Bit More About Thinning Shears
Before you start, it’s best to know a bit about the different types of thinning shears available.
In short, thinning shears are scissors with one blade without teeth and one blade with. The blade has little grooves that will thin your hair to reduce any heaviness and soften lines.
There are three main types of thinning shears you can buy:
- Texturizing/blending shears: This versatile tool has around 25 teeth and can thin, texturize, and blend most hair types. They can remove approximately 40-70% with one or two cuts.
- Chunking shears: These are best for people with thicker and curly/wavy hair. They’re not suitable for thinner hair. Typically they have 7-15 teeth and remove more significant amounts of hair – between 40-80% with a couple of cuts.
- Finishing shears: These are more delicate, have fewer teeth, and can be used on all hair types. However, if used on someone with thicker and/or curly hair, it may take more cutting than if you used the other sheers listed above.
Alternatively, you could invest in more professional thinning scissors – although they’re way more expensive. These thinning sheers are more akin to what your hairdresser will use. But, of course, there are so many different types of products on the market it’s hard to know where to start.
Some of my personal favorites include:
There are many professional options if you feel confident enough to invest in a pair. However, my personal preference (if you want to try this at home) is to invest in something cheaper, to begin with, just in case you decide thinning your hair at home isn’t for you.
Preparing To Thin Your Hair
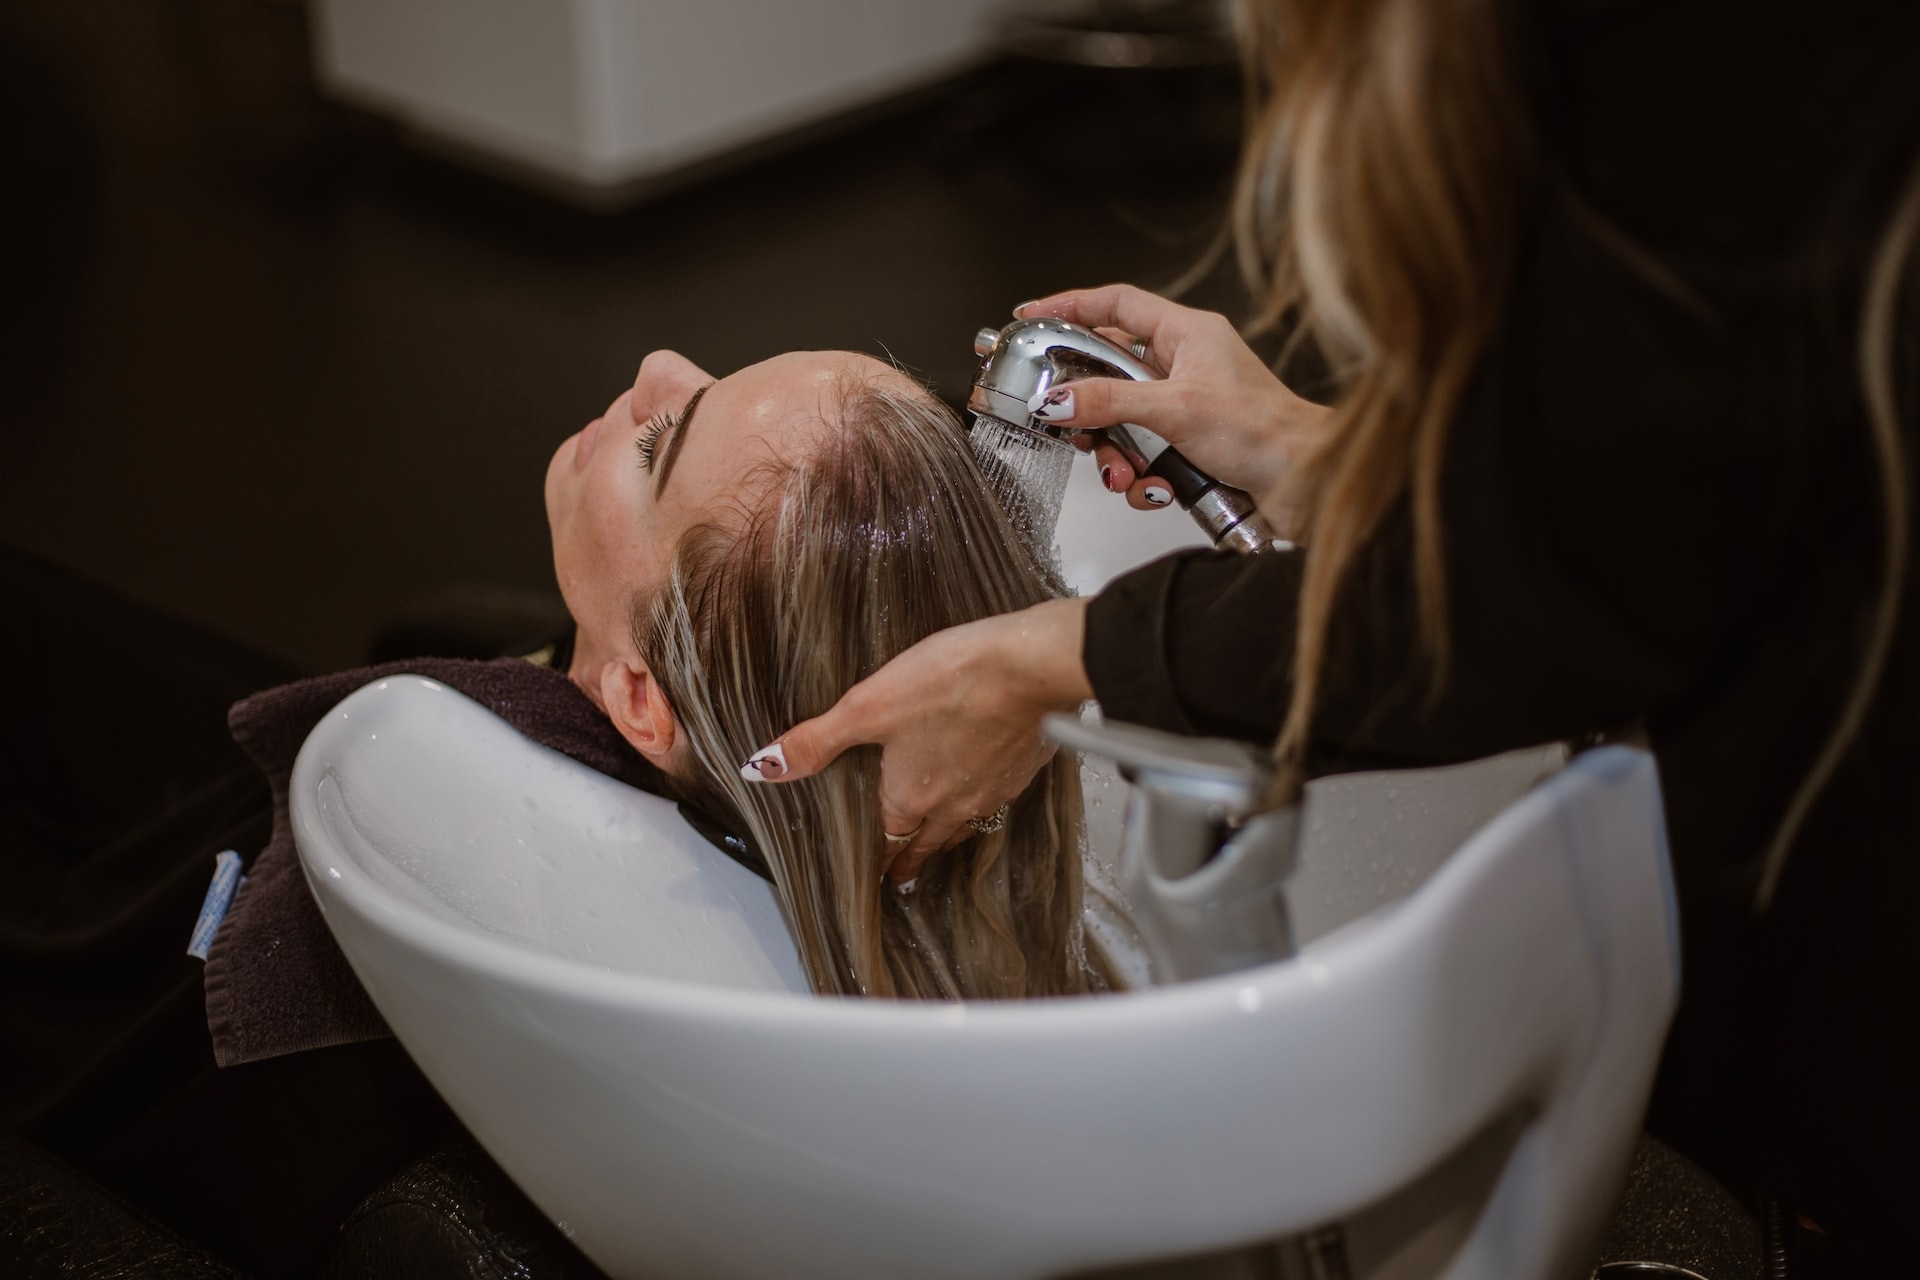
Before you start to thin your mane, you need clean hair. Just wash your hair how you usually do. If you plan on thinning your hair when it’s dry, let it dry naturally or give it a blast with a hairdryer, but don’t add any product.
Some hairdressers prefer to thin hair when it’s dry, and some when it’s wet. It’s a personal preference, but you may find it more manageable with dry hair because it’s easier to see what your hair looks like. That way, you’re not as likely to overdo the thinning!
Section Your Hair
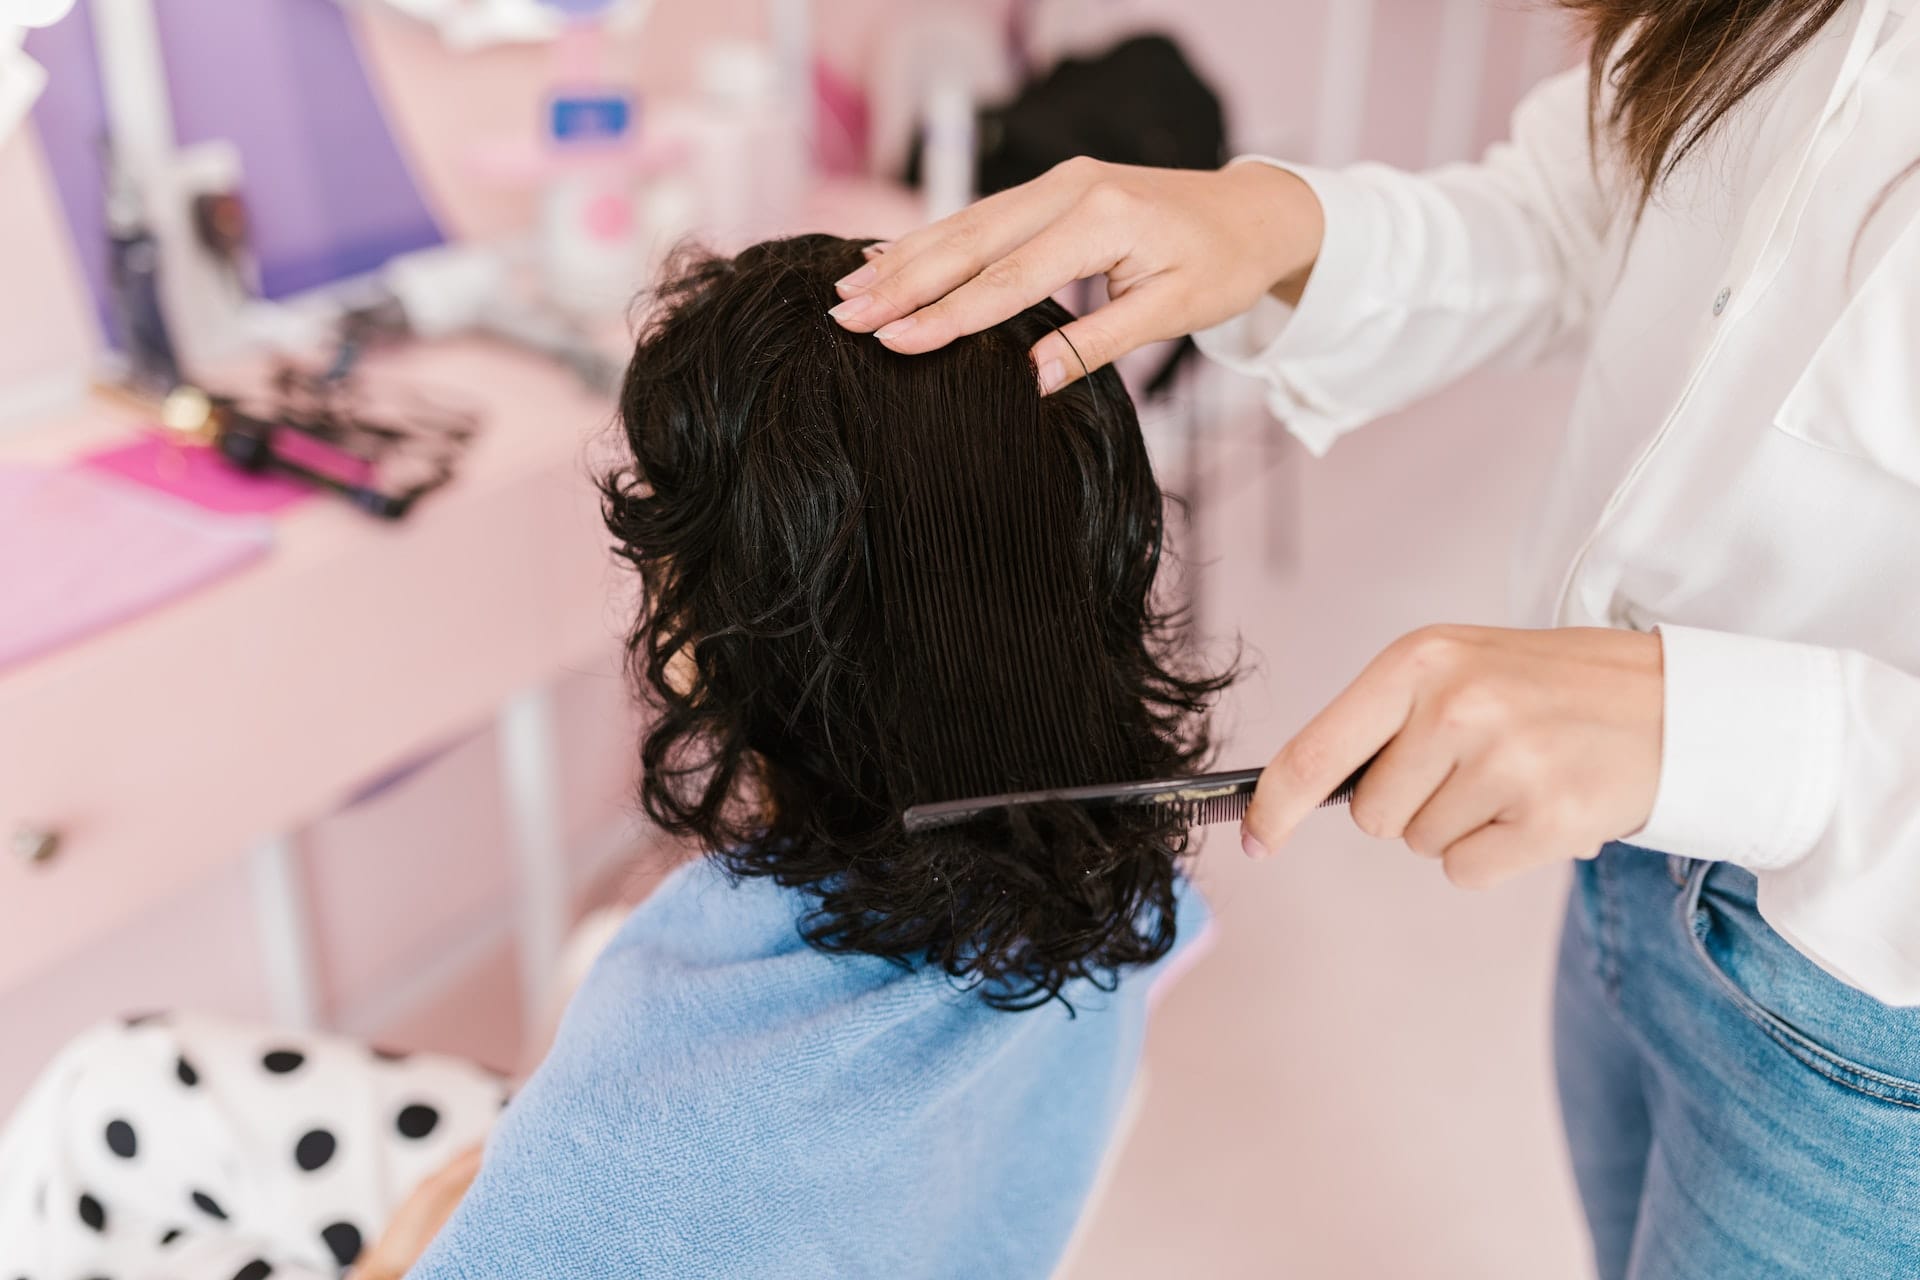
Before you start, split your hair into two to three-inch sections, clipping them using claw clips (or similar). Or, hold the section of hair you intend to start with and clip back the rest of the hair.
Either way, you don’t want to accidentally thin the same section twice. So I advise separating whichever section you’ve already thinned away from the rest.
Start Thinning
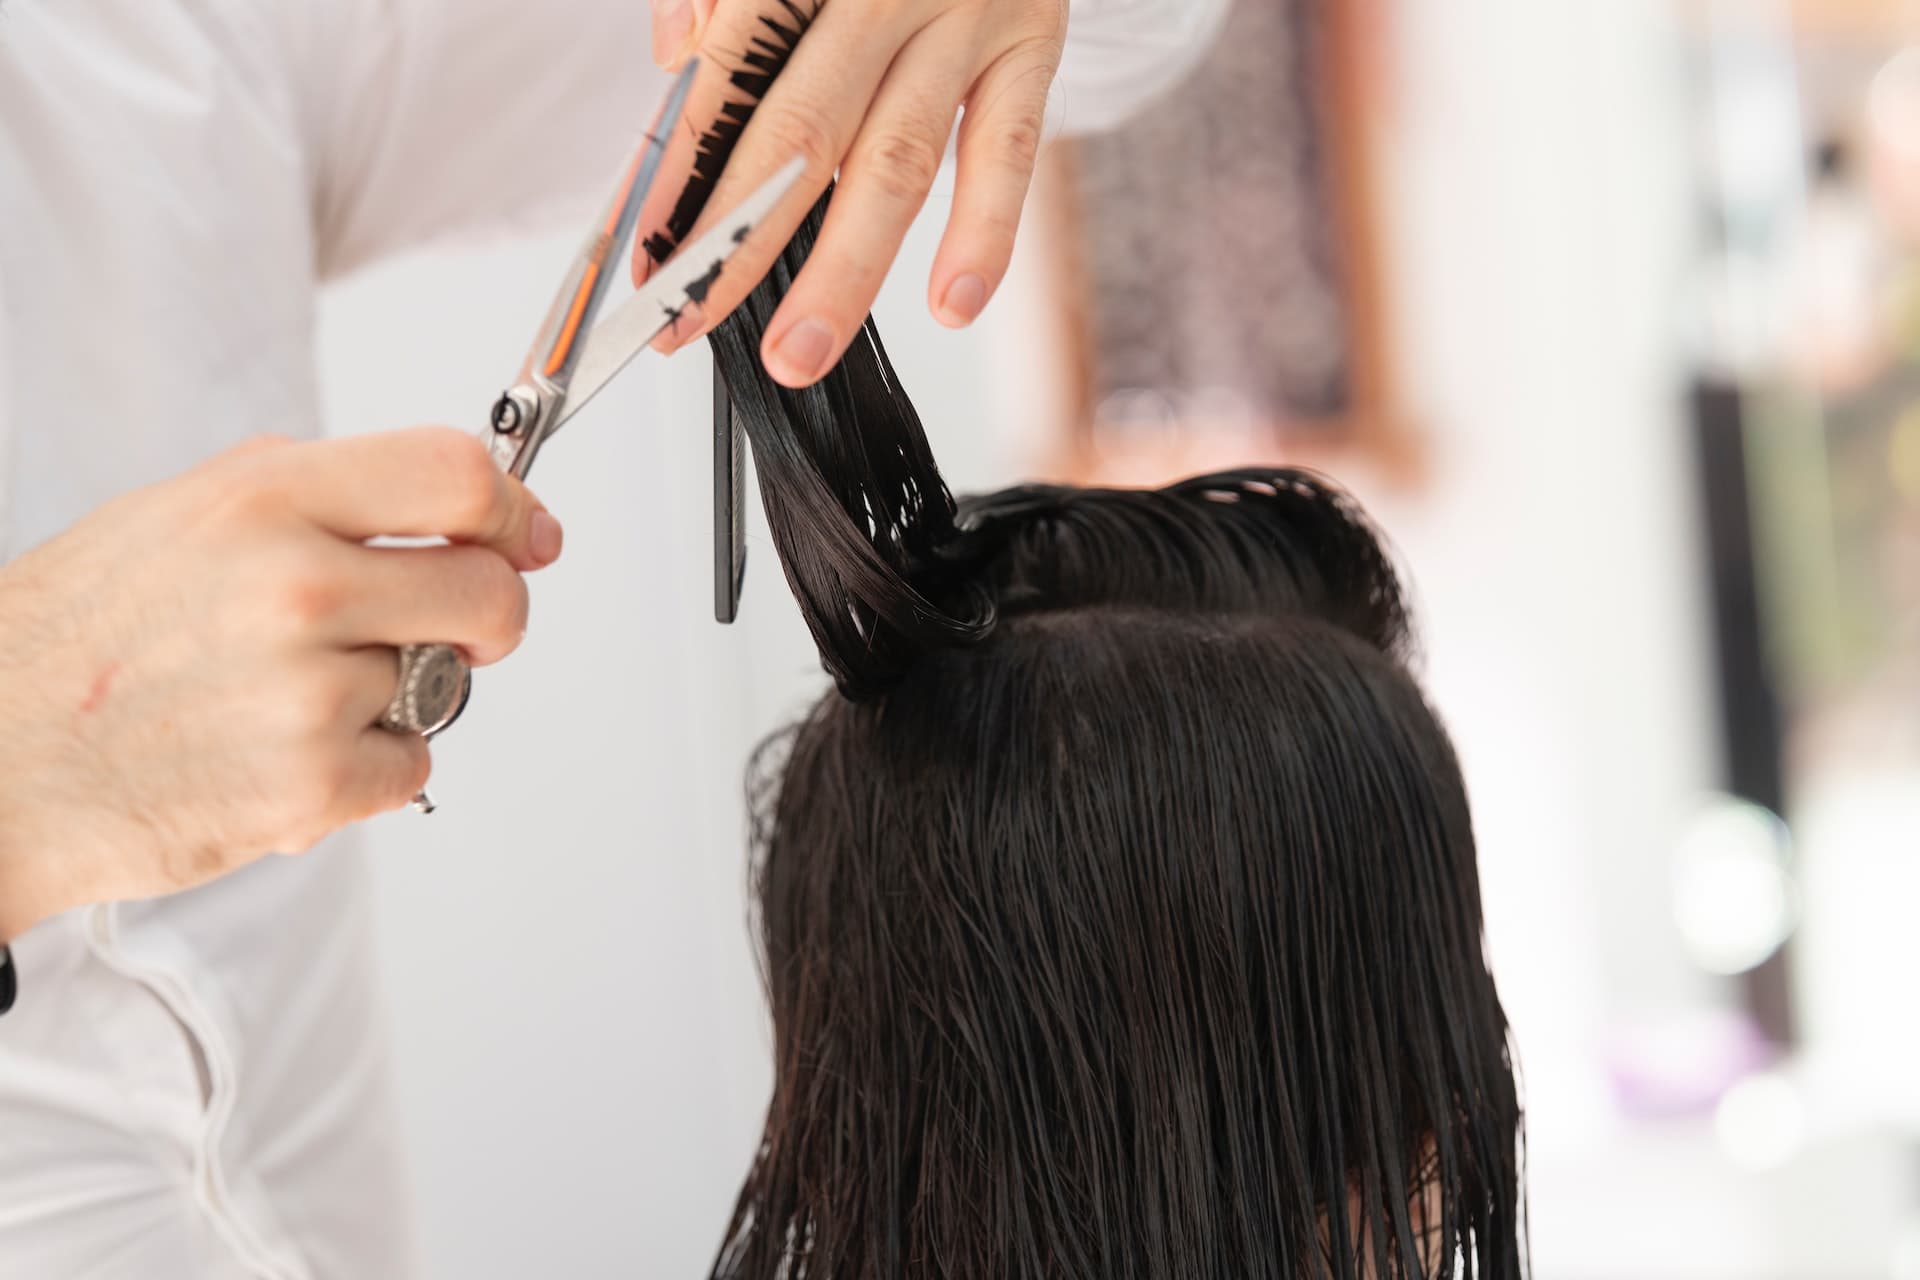
Take the first section you want to thin and hold it up so it’s fully upright between your index and middle finger; while in your cutting hand, hold your chosen thinning shears. The serrated edge (teeth) should be facing downwards so that your top layer of hair is longer to conceal the thinner sections.
Move the shears three inches from the top of your hair (closest to your hand) and close them over this section. Make sure your shears are at a 45-degree angle. Now open the shears and move them downward about an inch. Close them again. Keep doing this at intervals until you get to the bottom of your hair close to the root. When you’re doing this, it should feel like your shears are gliding through your locks.
Before moving on to the next section, comb through the hair you’ve thinned to get rid of any clippings. This helps ensure you don’t have a false sense of how much you’ve cut off your hair.
TIP: Aside from my description above, it’s helpful to look at a few YouTube videos to practice the thinning method before you get going. There are plenty of clips to choose from; I like TheSalonGuy’s guide but feel free to explore the many others available online.
TIP: My mantra here is always less is more. In other words, go carefully when thinning hair. After all, it’s impossible to undo what you’ve already removed. If your hair is still too thick after gradually thinning the sides, front, and back of your hair, repeat the process but don’t cut in the same place too many times.
Visit a Professional Salon
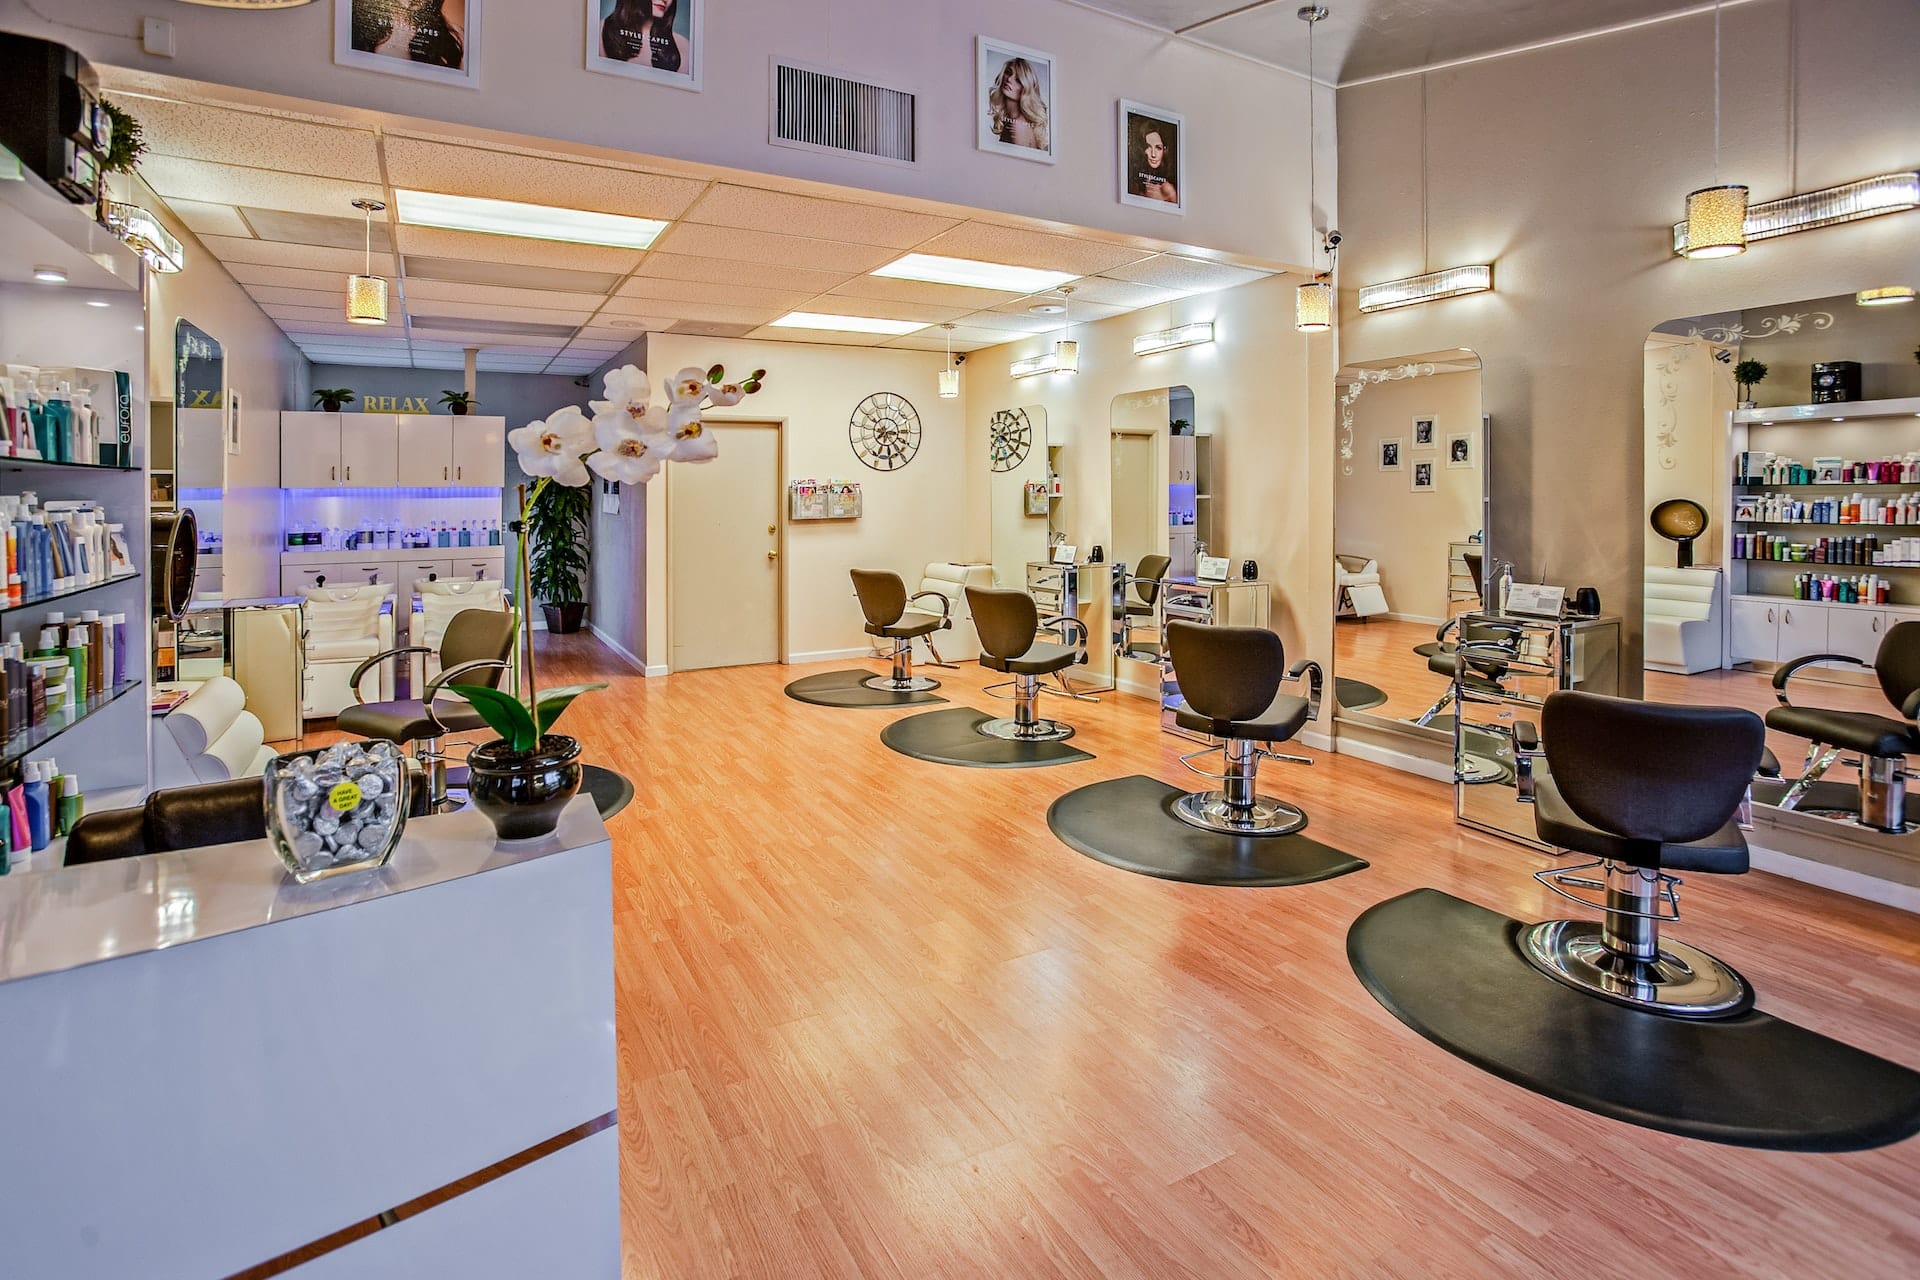
Alternatively, you could visit a professional salon. Often, this is your best option if your hair thickens fast. Try to visit your hairdresser every couple of months to avoid outgrowing your chosen style.
If you want to go for something completely different, changing your hairstyle might present another way to thin your hair. For example, you could ask your hairdresser for more layers to help make it look less full and thick.
How To Thin Hair Without Cutting It
If you feel that thinning your hair is too adventurous, don’t worry, there are other ways to make your mane look less voluminous. These include:
- Washing your hair
- Drying your hair
- Using specific products
- Using a hair straightener
Let’s take a look at each in turn:
Washing Your Hair
The number one way to thin the appearance of your hair is to wash it less. So, instead of a daily or every other day routine, shift it to twice or even once a week. In the case of really curly hair, some wash their hair once every week or 10 days and apply frizz-reducing products in between.
It’s always worth playing around with your hair-washing routine when you notice your hair’s beginning to get a little thick.
Pro Tip: Hot water strips your hair of its natural oils. The result is dry and dull-looking hair that looks thick and frizzy. Try washing it in cool or cold water instead.
Drying Your Hair
You can dry your hair so that it looks like it’s thinner. First, however, it’s essential to read this section hand-in-hand with the next one, where I talk about hair products. These are essential to achieving less volume and reducing frizz.
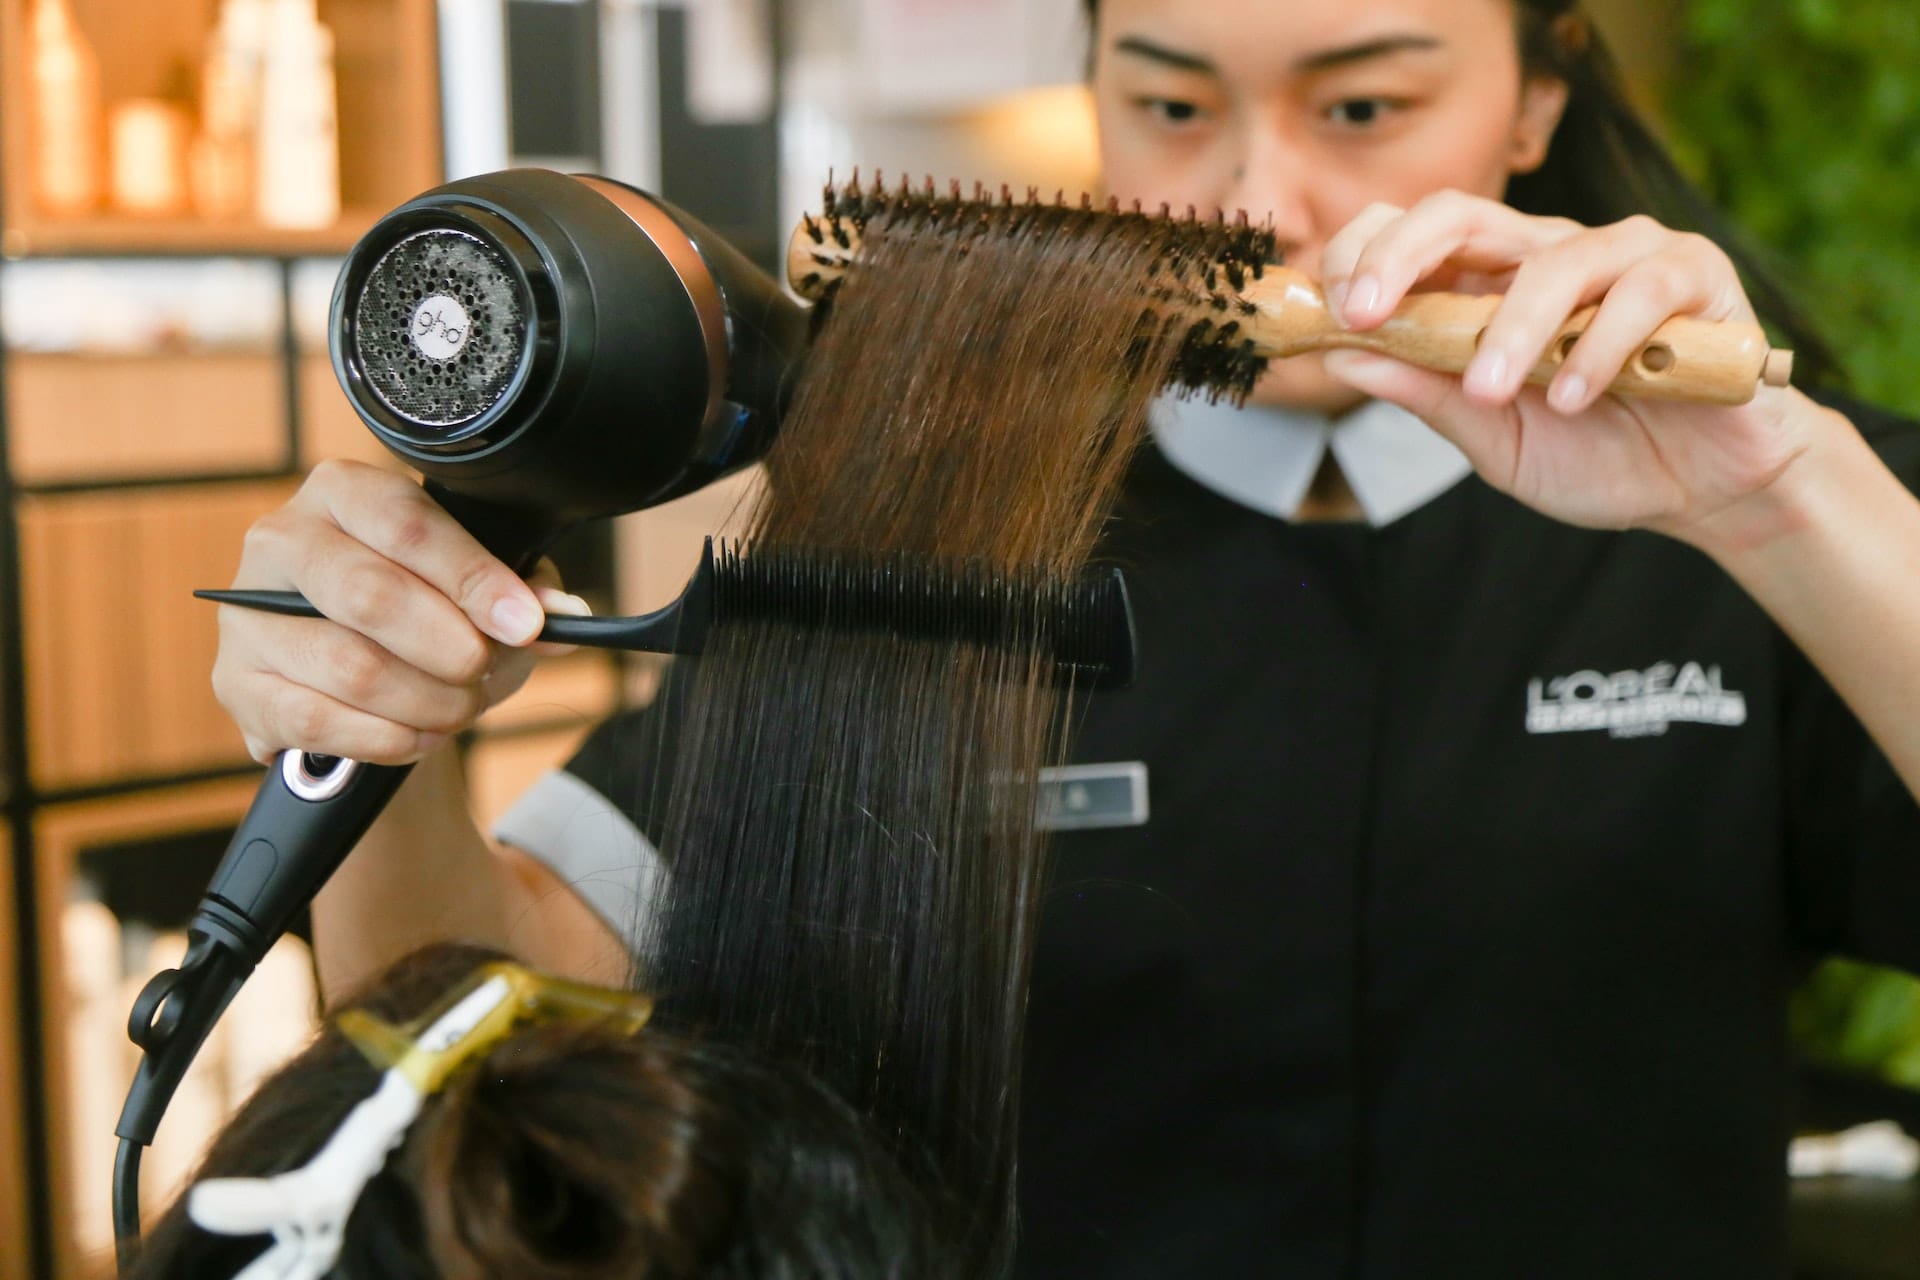
When drying straight hair, your best bet is to dry it from the root down while using a round styling brush. Use the brush to pull your hair downwards as you dry it from the roots.
Pro Tip: Avoid pulling the hair too hard, or you risk adding too much volume to your hair and your mane becoming frizzy.
In the case of curly hair, some of my curly-haired friends ditch the hair dryer and air-dry their curls. Others use a dryer with a diffuser for even drying, keeping the natural curl pattern, and reducing frizz.
Products
There are tons of styling products, and choosing the right one can take time and effort. Aside from hair growth, your hair can look thicker due to heavy build-up from shampoos, conditioners, and hair styling products.
So, with that said, here are a few products that I would recommend.
Shampoo
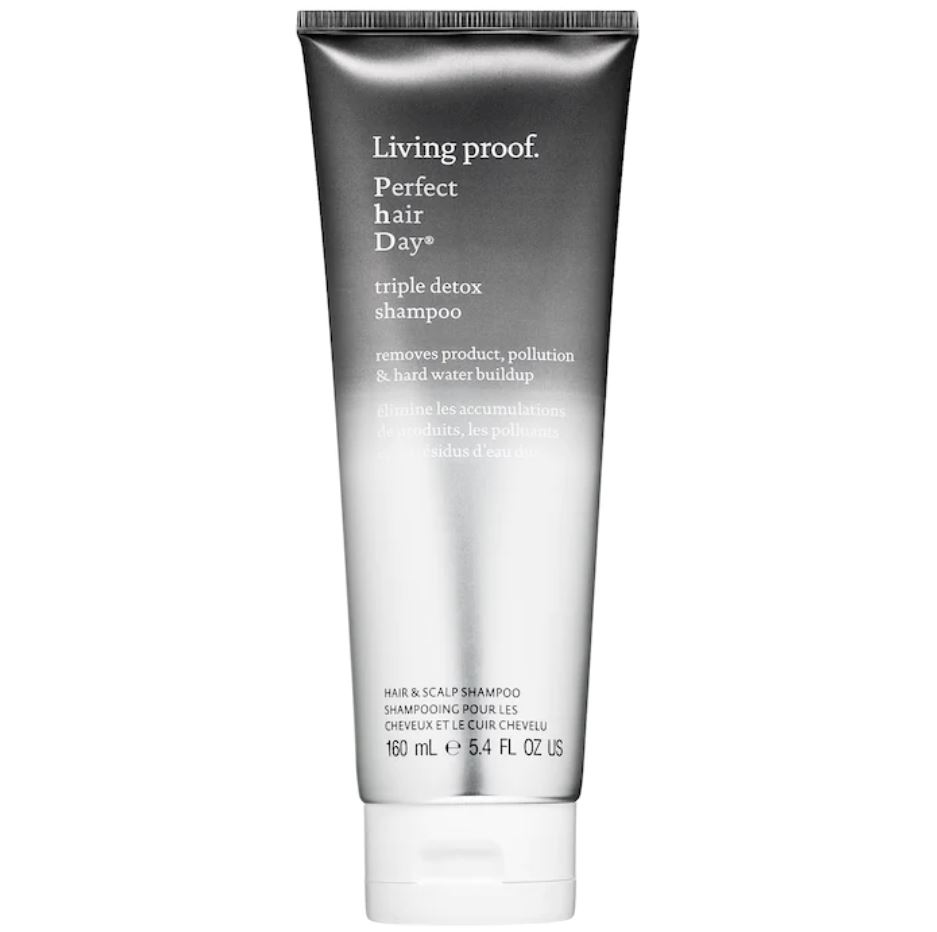
Forget about the hair products in your bathroom that promise volume. Instead, invest in a shampoo that promises to reduce product build-up. For example, the Sephora Perfect hair Day Triple Detox Shampoo.
Or, if you prefer something more budget-friendly, try the Neutrogena Anti-Residue Clarifying Shampoo instead.
Alternatively, look for an exfoliating shampoo that also gives your scalp a good clean, reducing any dead skin cells you may have.
Conditioner
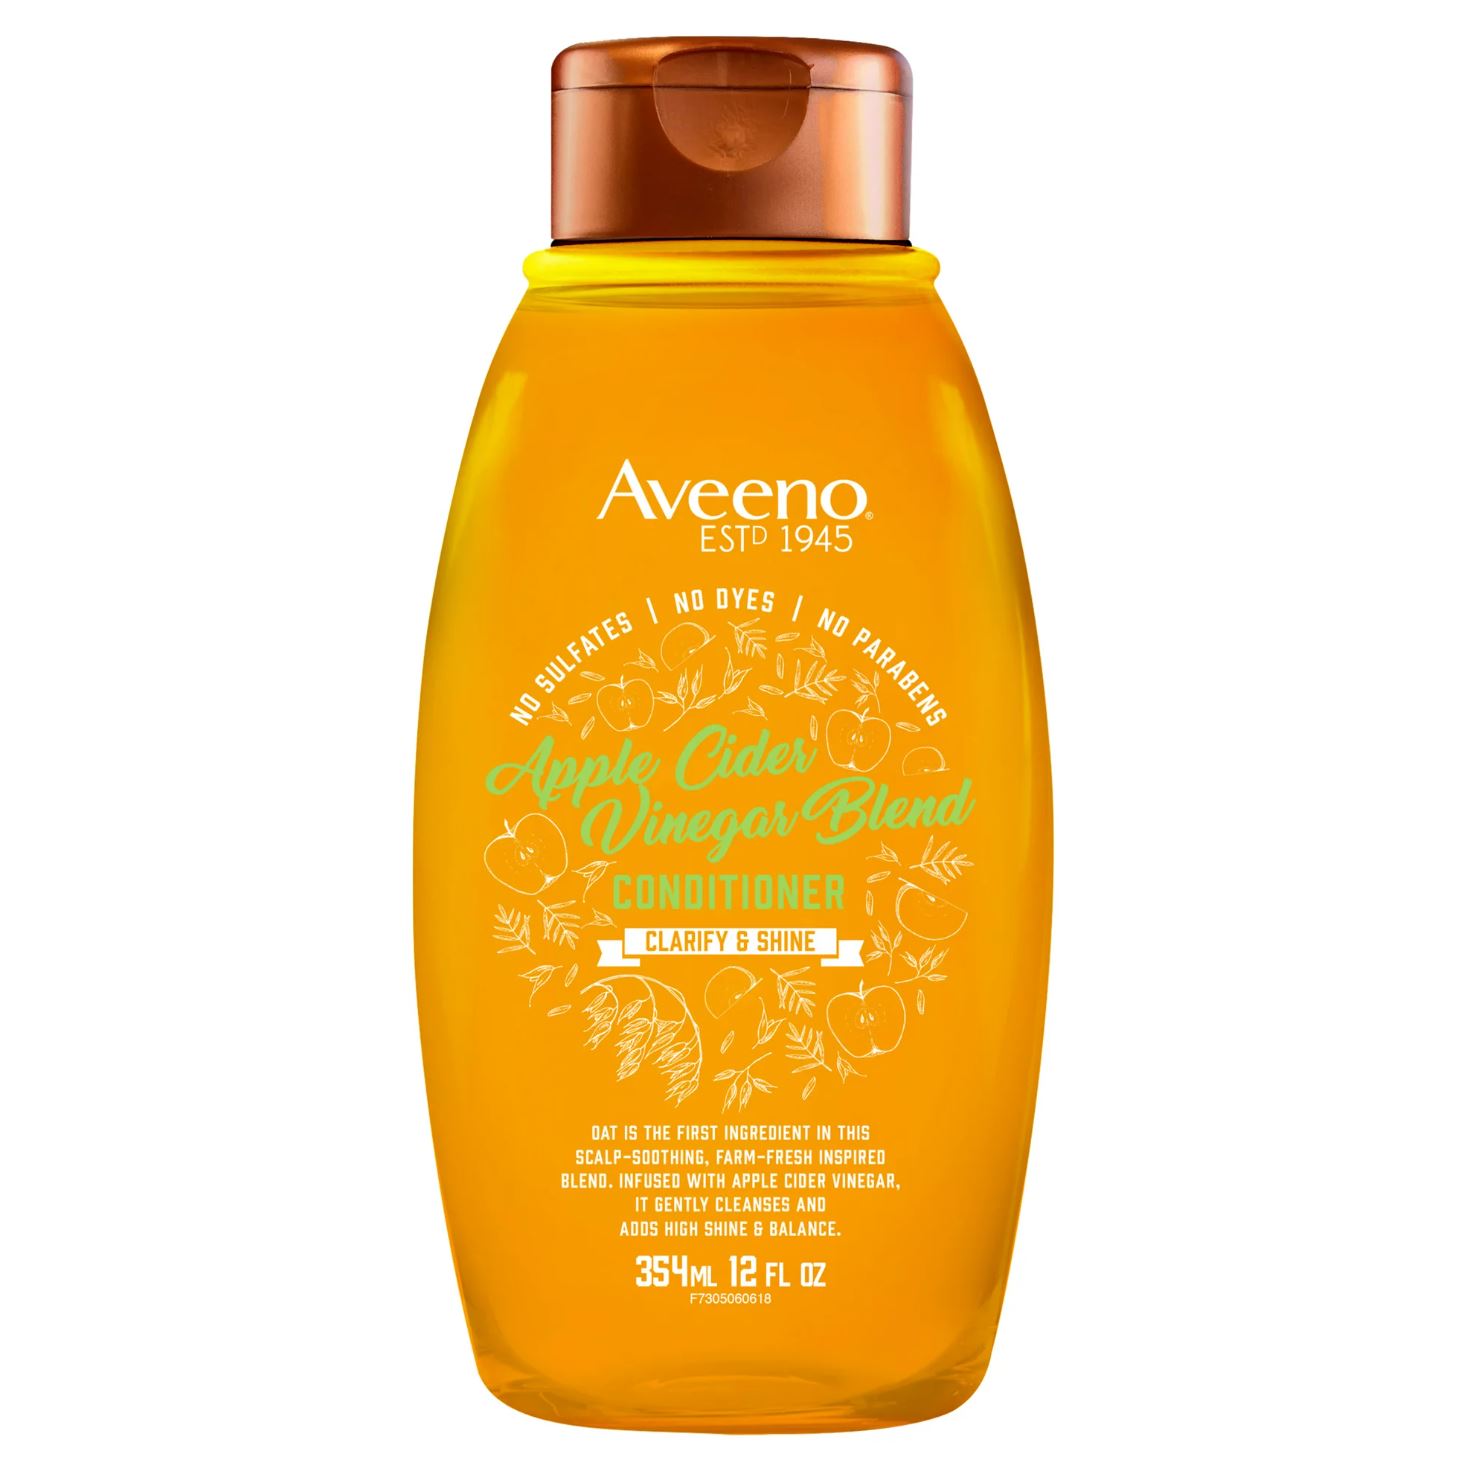
Again, don’t look for volumizing conditioners. Instead, look for a clarifying conditioner. You should find these at your local drugstore, supermarket, or online marketplace. For example, the Aveeno Apple Cider Vinegar Blend Conditioner.
Alternatively, focus your efforts on using a shampoo and conditioner that reduce frizz. One popular product is the L’Oreal Everpure Sulfate Free Frizz Defy Conditioner. The brand also sells an accompanying shampoo if you want to invest in both.
Frequently Asked Questions
Before wrapping up this guide, let’s answer some of the most frequently asked questions about thinning your hair:
Answer: That’s really a personal choice for you. Personally, I’d head to a professional in the first instance and pay close attention to what they do when thinning my hair.
Alternatively, many professional hairdressers have helpful YouTube videos you can watch before going ahead.
If you find a great hair stylist you trust because they understand your hair, how it grows, how it behaves, how you like it, and how to thin it, I’d recommend sticking with them.
Answer: This process isn’t for you if you’re growing out your hair. Leave your hair alone apart from having a regular trim until it’s the length you want for your new style.
Answer: No. Layering your hair is done with scissors, whereas thinning is done with shears. Also, layered hair is basically when you have hair of differing lengths, for example, shorter on top and longer elsewhere. Layering hair can remove weight, but it’s also done to give your hair shape, volume, and texture.
In contrast, thinned hair is when some of the volume or depth of your hair is removed to create a softer look.
How to Thin Hair: My Final Thoughts
Thinning hair isn’t easy, especially if you plan to do this at home and you’re a first-timer. It is, however, entirely possible, especially if you follow all the tips in this guide.
Yes, thinning your hair can seem overwhelming and somewhat time-consuming. But I’m hoping my how-to guide has walked you through enough of the basics to make you want to try to get the hang of it with careful preparation!
Alternatively, you’re now better informed, so you can have a more detailed conversation with your hairstylist the next time you visit. Either way, it’s a win!
Remember to tell us how you get on in the comments box below!
- How to Thin Hair - November 30, 2022
- Undercut Stacked Bob Ideas & Style Guide - November 21, 2022
- Scarlett Johansson Short Hair Style Guide - November 12, 2022

